The article contains several sections. For your convenience, you can jump straight to the right one:
- Running and configuring the module for the first time
- Settings
- Connecting
- DIGITAL SIGNATURE
- Accounting system
- Forms for printing OS documents
- Contacts of counterparties
Abbreviations and terms:
- OS — accounting system.
- EDS — electronic digital signature/seal.
- API (application programming interface) — a set of defined methods for interaction between a software module and the WhiteDoc service.
- Account — an account that stores various information related to the user (settings and other information).
- Mailbox — an entity that is an input/output point of document flow in the service. It can be personal or shared by several users at the level of one account.
- Envelope — the basic unit of document flow in the service that contains one or more documents and is formed according to a specific template.
- Template — a set of user-defined rules for generating documents, their structure, and processing order, according to which an envelope is generated.
First launch and configuration of the module
The integration module of the WhiteDoc service allows you to work with 1C | BAS accounting systems: Enterprise 8.X on standard forms (hereinafter referred to as 1C | BAS) based on the Windows operating system.
To work with the module (subject to an active subscription to the WhiteDoc service), the user needs a login, password, and mailbox identifier:
-
email — user login;
-
password — user password in the WhiteDoc service;
-
mailbox ID — unique mailbox ID at the service level.

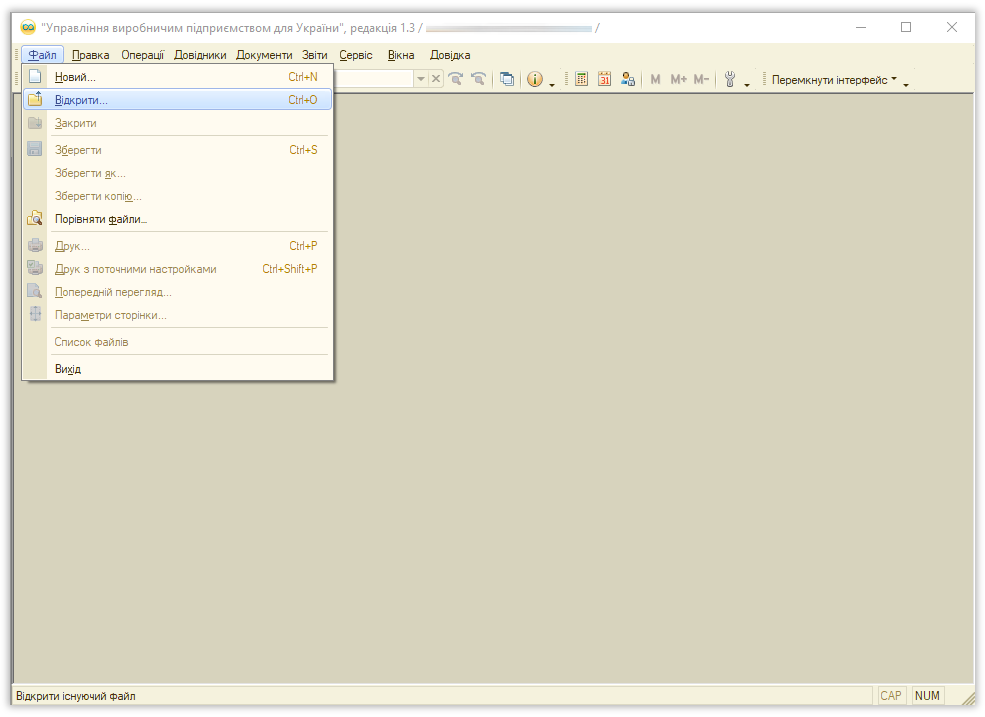
To launch the module in the 1C | BAS accounting system, you need to open the module launch file (transferred to the user by WhiteDoc employees):
.png)
The user must have full rights to the directory where the module file is located
At the first start (when config.txt is missing), the ‘Settings’ section automatically opens to enter all the necessary data (in the future, the ‘Mailbox’ section will open at startup).
Settings
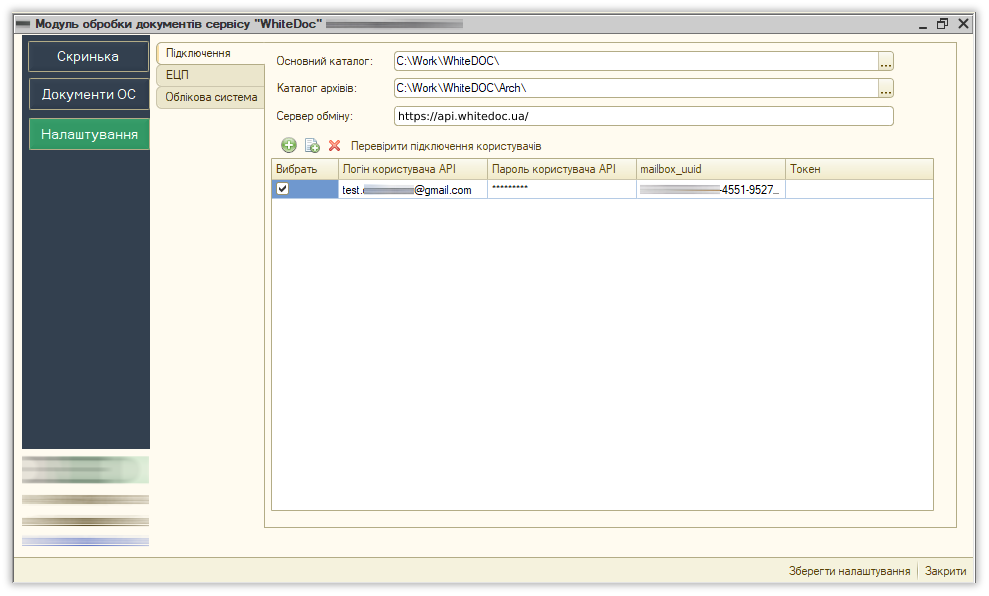
When you launch the WhiteDoc integration module for the first time, the 'Settings' section automatically opens:
.png)
The section contains three tabs:
-
Connection
-
EDS
-
Accounting system
Connection
Main directory — the path to the location of the module file and its configuration (the default path is specified).
Archive directory — the path to the location allocated for the archives that can be created by the user when working with the module (if the path is not filled in, the module will ask you to specify it when saving the archive).
Exchange server — the address of the electronic document management platform (module requests are sent to this address): https://api.whitedoc.ua/
Use the green round ‘+’ button to add a user, and specify the API user login (email), API user password, and mailbox_uuid (mailbox identifier).
A session token is generated automatically upon successful authentication.
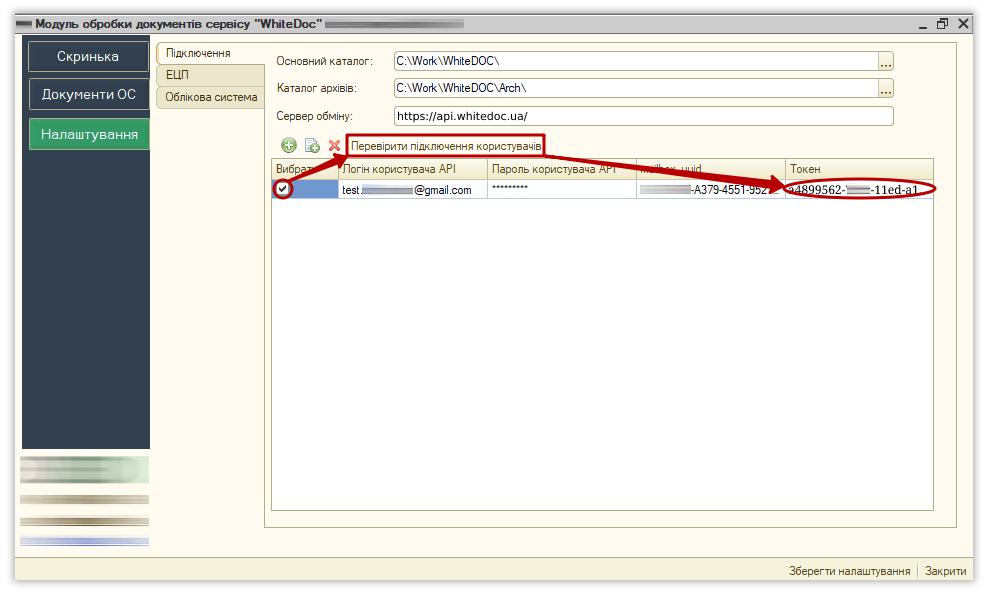
After entering the user data, it is possible to verify the entered data using the ‘Verify user connections’ button, having previously checked the ‘Select’ column:
.png)
As a result of the verification, the received Token indicates that the data has been correctly filled in, and the authorization on the electronic document management platform has been completed. The module also displays status messages about success or errors that the user may encounter when working with the module.
After making all the changes, be sure to click the ‘Save Settings’ button (in the lower right part of the window)
EDS
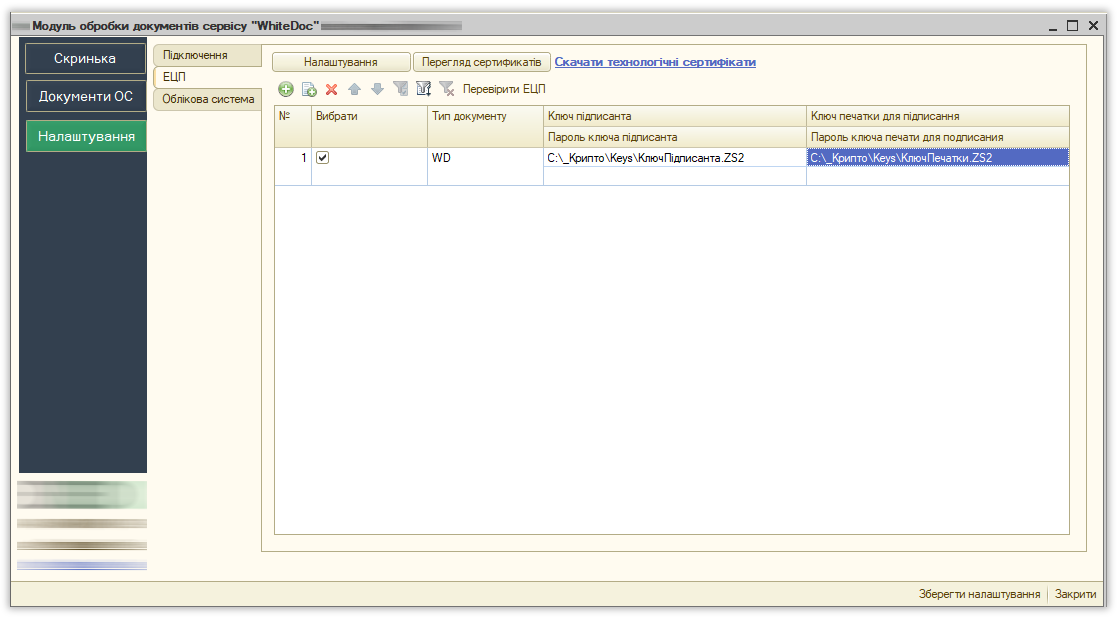
This section covers the electronic digital signature and seal (EDS) settings.
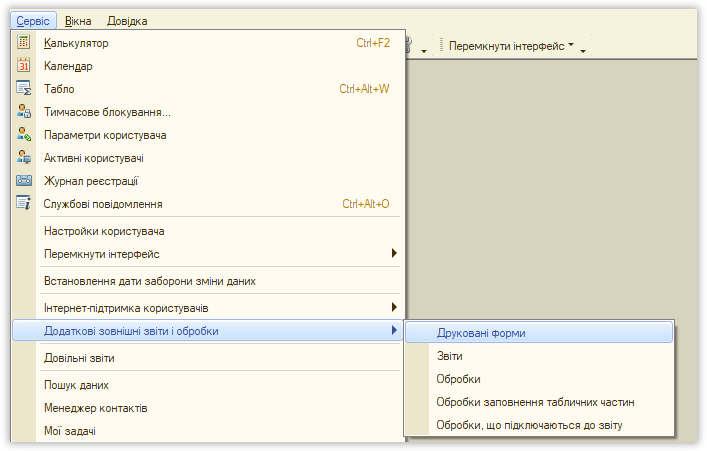
The ‘Download technological certificates’ button allows you to download SFS certificates (cryptography settings).
Use the green round ‘+’ button to specify the path to the ‘Signer's Key’ that will be used to sign documents.
Optionally. If necessary and available, you can also add your seal key in the same way:
.png)
When uploading legally significant documents, passwords can be entered either in the table, or the processing will display a window for entering them before signing. The ‘Check EDS’ button allows you to check the correctness of the entered key and password data before signing.
If an error is detected during verification, the module will ask you to re-enter the password:
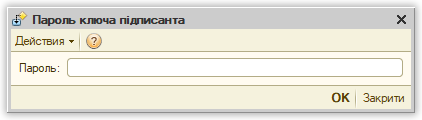.png)
Each time the key is verified, a description of the verification result is displayed in the message window.
After making all the changes, be sure to click the ‘Save Settings’ button (in the lower right part of the window)
Accounting system
To continue working with electronic document management, you need to synchronize the module and the accounting system (OS).
.png)
The 'Accounting System' settings tab includes the following sections:
-
OS Document Printing Forms
-
Counterparty Contacts
Forms for Printing OS Documents
To facilitate electronic document management, you need to add and select the types of documents from your accounting system that will be pulled under the ‘OS Document Type’ column:
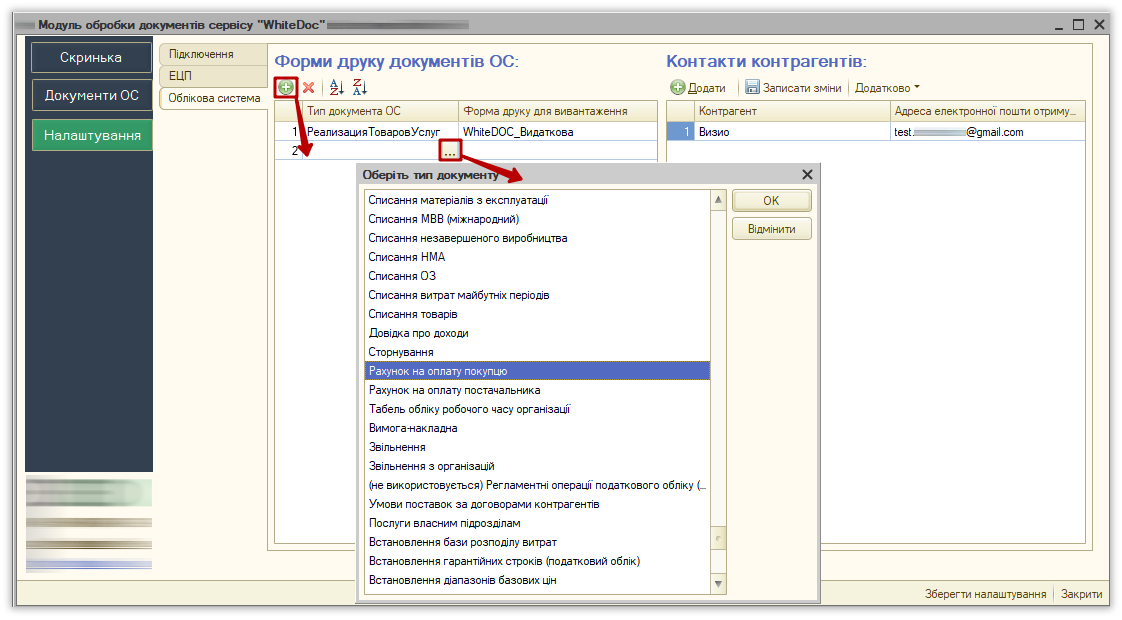.png)
For each selected OS document type, you will also need to specify the ‘Print Form for Uploading’ (external printed forms) that will be used to generate the WhiteDoc document:
.png)
External printed forms are required for the upload module. You must first connect these forms to your 1C | BAS system. It is recommended to involve a 1C specialist for this process:
.png)
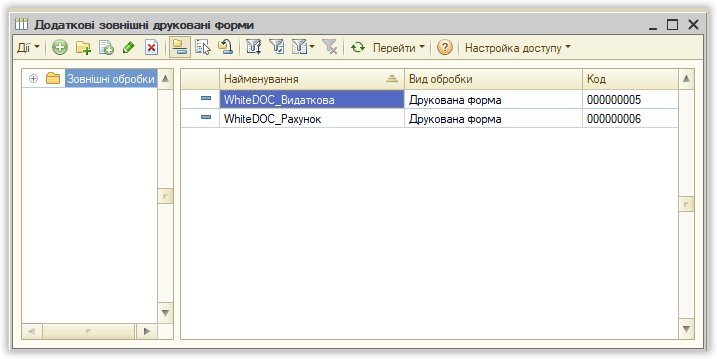.png)
After making all necessary changes, remember to click the ‘Save Settings’ button located in the lower right corner of the window.
Counterparty Contacts
In the WhiteDoc integration module, unlike the web version, the primary identifier for counterparties in the system is their email address, not a mailbox.
In the ‘Counterparties’ contact block, you can add email addresses for your counterparties by clicking the '+Add' button:
.png)
After making any changes, be sure to click the ‘Save Settings’ button located in the lower right corner of the window.
Now you have a clearer understanding 😉
WhiteDoc