There are several ways to create an envelope:
Create an envelope via the Quick send button on the dashboard. More details on this can be found here
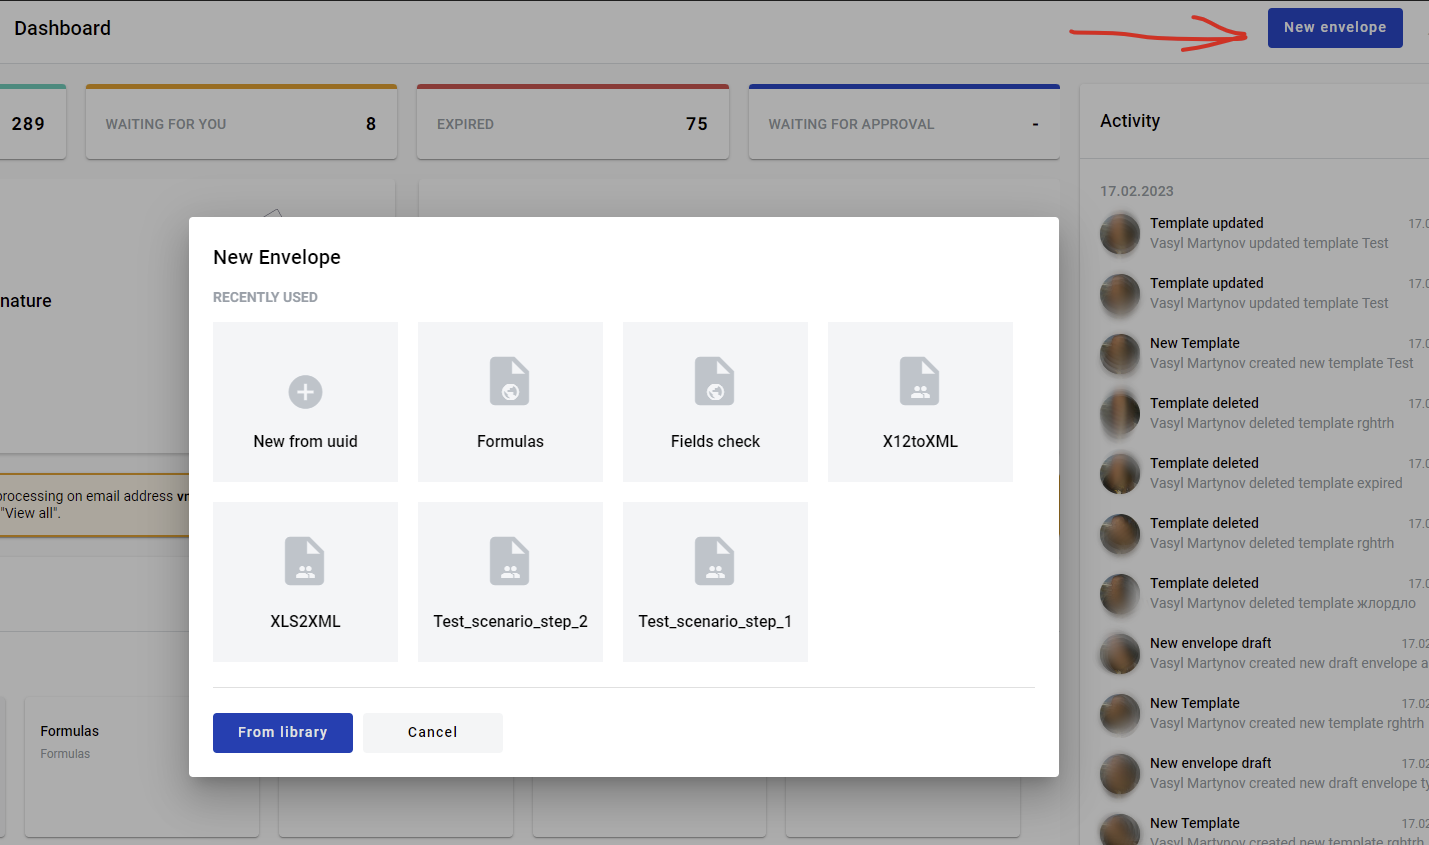
- By clicking the 'New envelope' button on the dashboard
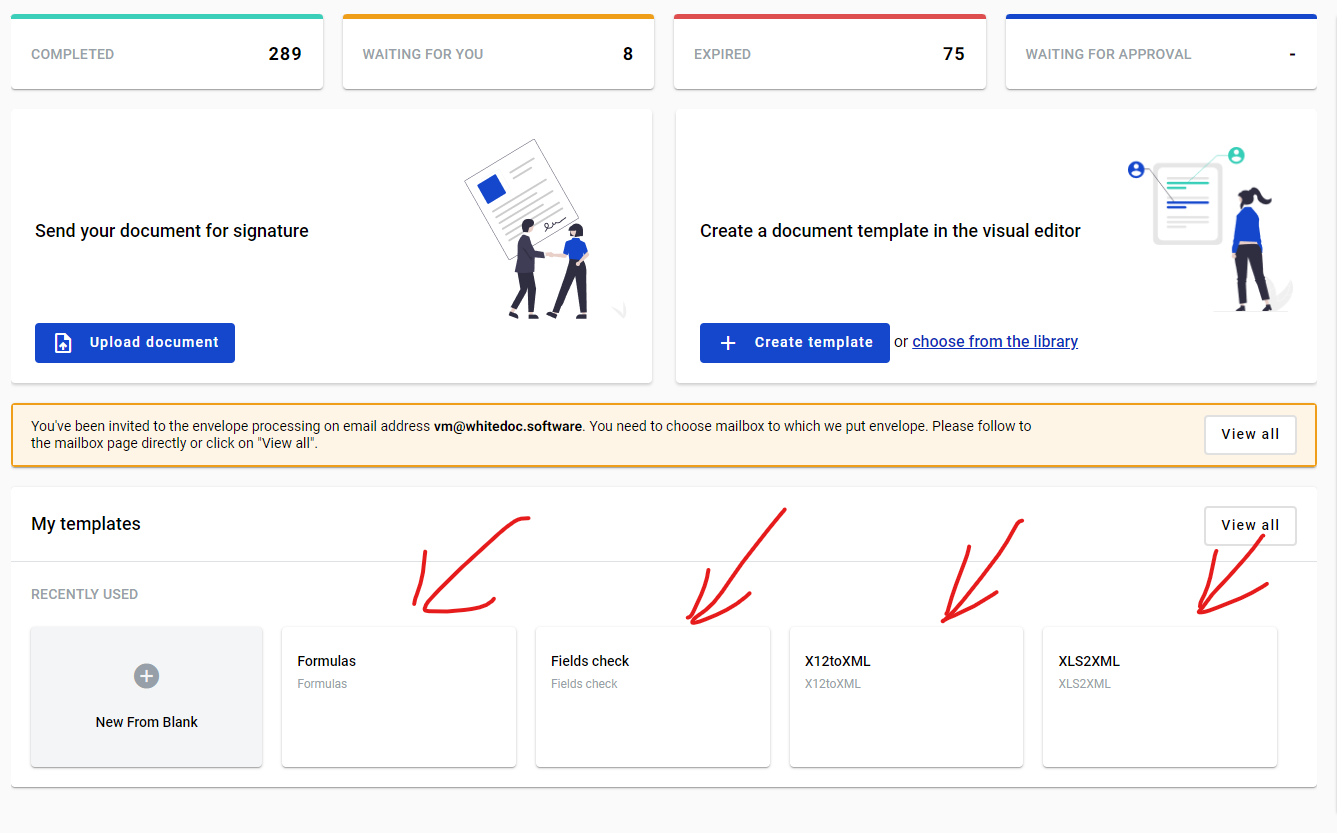
- By clicking any template panel on the dashboard
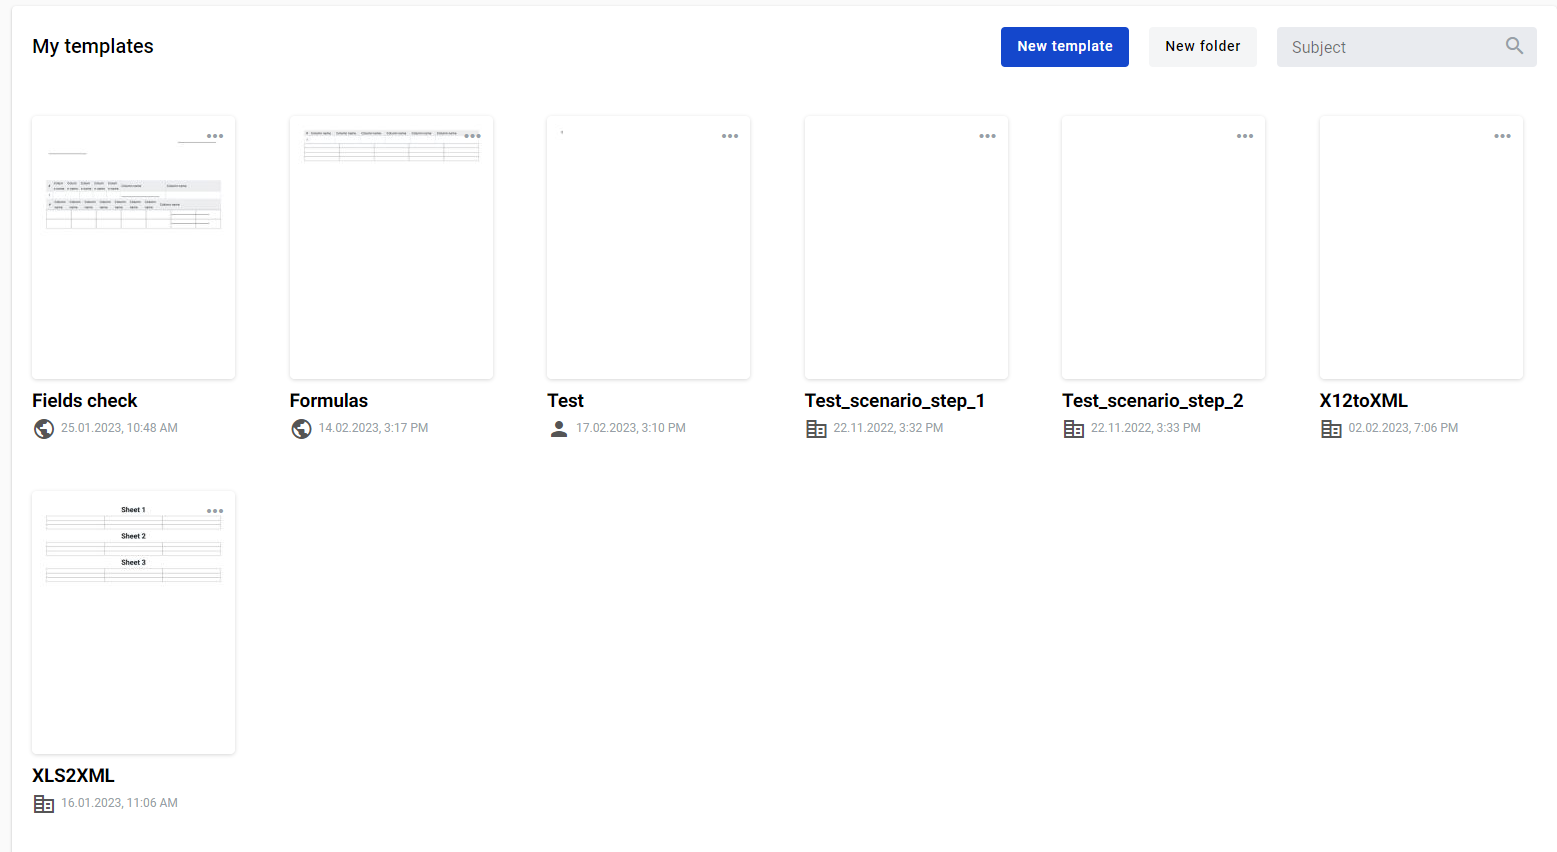
- By clicking any template panel on the templates list page
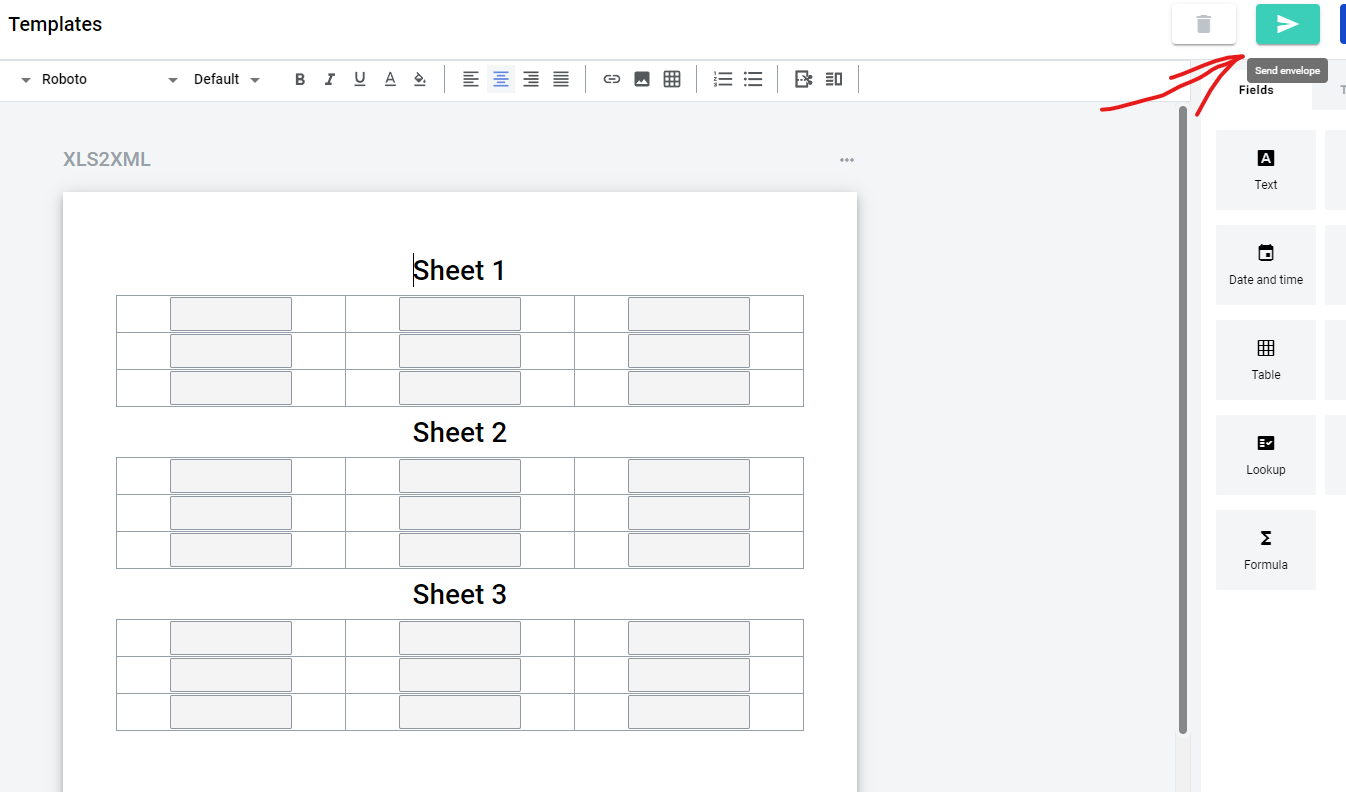
- By clicking the 'Send' button in the template editor
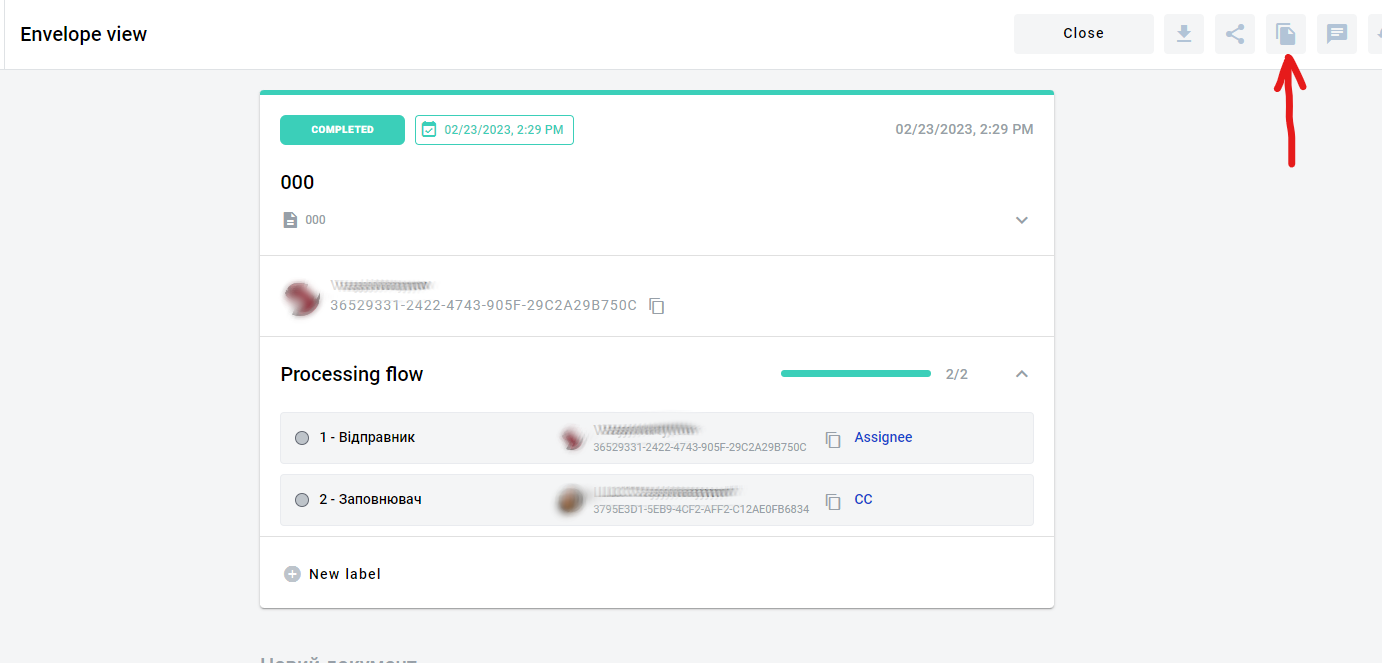
- By cloning the existing envelope. Please note that if the mailbox has no access to the template of origin or the envelope is created via Quick-send, the ‘Clone’ button will not be shown
- The envelope draft will be opened
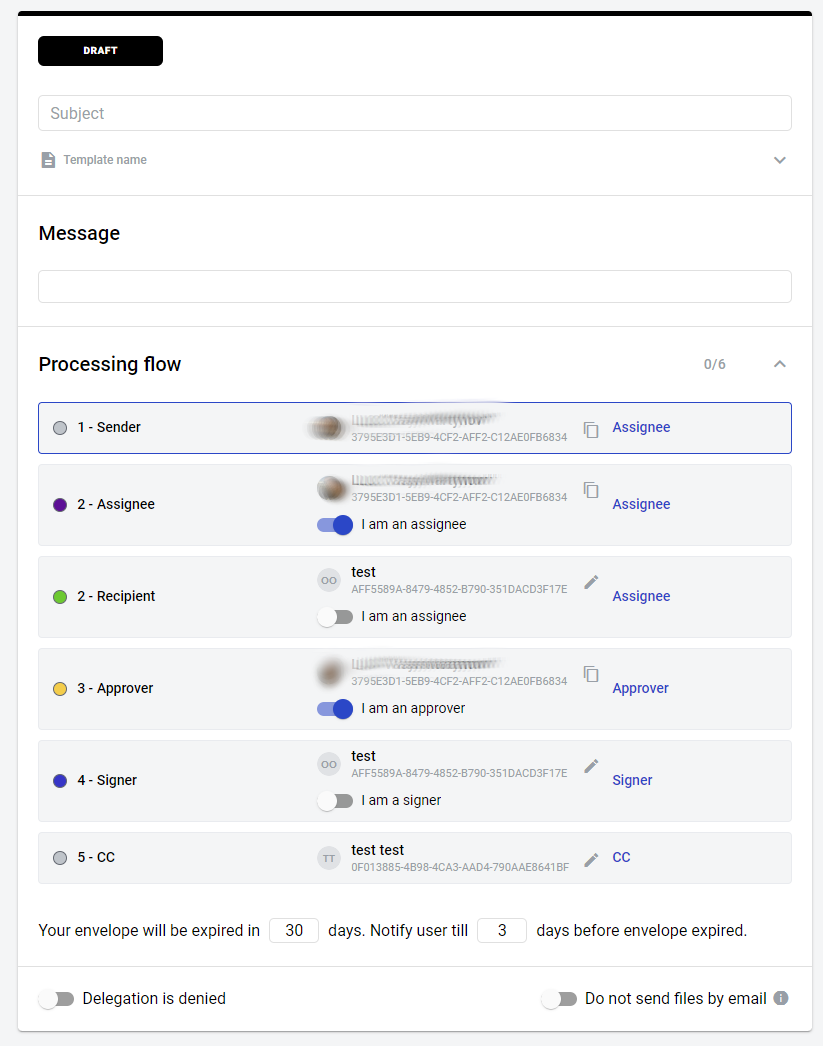
- From this page, you will have to fill out all roles that participate in the envelope processing flow (unless they are predefined on the template level). Note that you can enable the 'I am assignee/approver/signer' attribute to predefine your mailbox for the specified role. After all mandatory fields are filled out, you can send the envelope to the next participant in the flow.
You can also save an envelope draft with some values filled in to send it later. You can do so by clicking the 'Save draft' button (not available for quick-send). After a draft is saved, it will be automatically re-saved after any changes are made. The saving process is indicated by the save icon near the 'Save draft' button. The same auto-save feature is also used in envelopes in the 'Waiting for you' status.