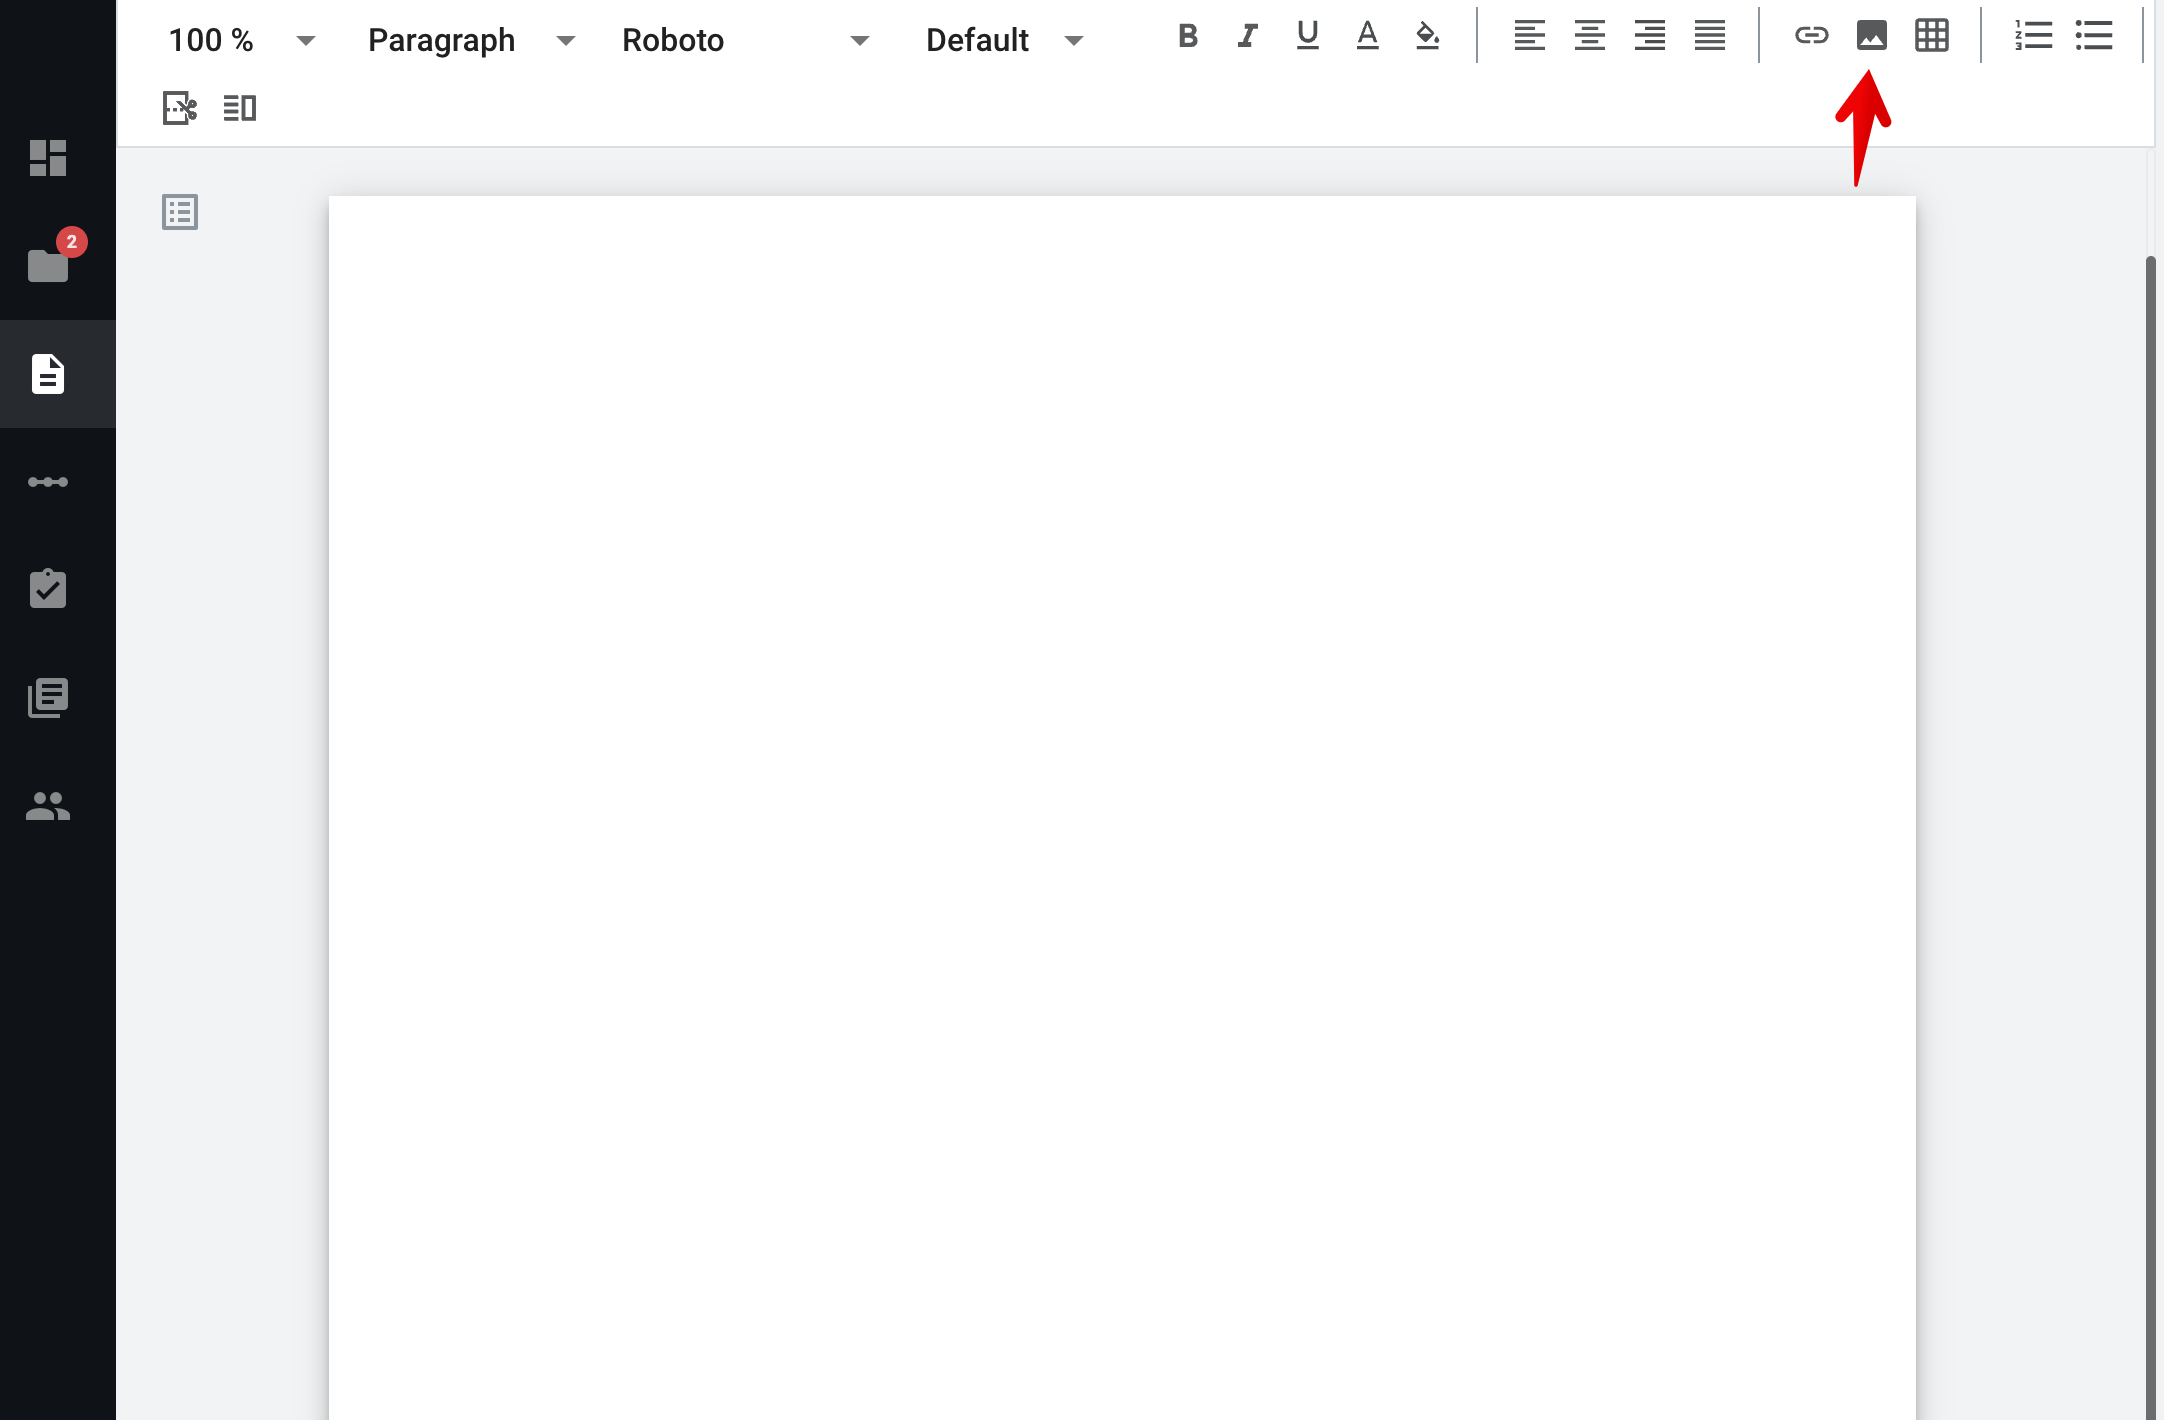
- Open the document for editing
- Set the focus on the document body (it’s necessary to understand where exactly we have to add the image)
- Click the image icon in the editor header menu

- Select a file in the folder manager (allowed file extensions are .png, .jpg and .jpeg) and confirm
- Image added to the document at the place where the cursor was
How to edit image settings
- To do this, click on the image and you will see the image size menu. You can set the image width in mm or as a percentage. By default, the original file size is displayed in mm, but you can choose to display it as a percentage.

- You can set the desired size manually in mm or %. The height of the image will be calculated and displayed proportionally. The image size is set relative to the document or cell in which it is located.
- To quickly change the image size, you can use key combinations (25%, 50%, or 100%).

The maximum size of an image that can be displayed in a document is 618 pixels. Thus, if you upload an image with a size of 1024x768 pixels, it will be automatically reduced to 618 pixels while maintaining its proportions.
- You can set the positioning for an image using the editor's standard positioning tool.
- You cannot add images to a dynamic table.
Image size restrictions
According to the structure of the document, we have the following restrictions:
- The maximum image size is 5 MB.
- The maximum image resolution is 1024 × 768.