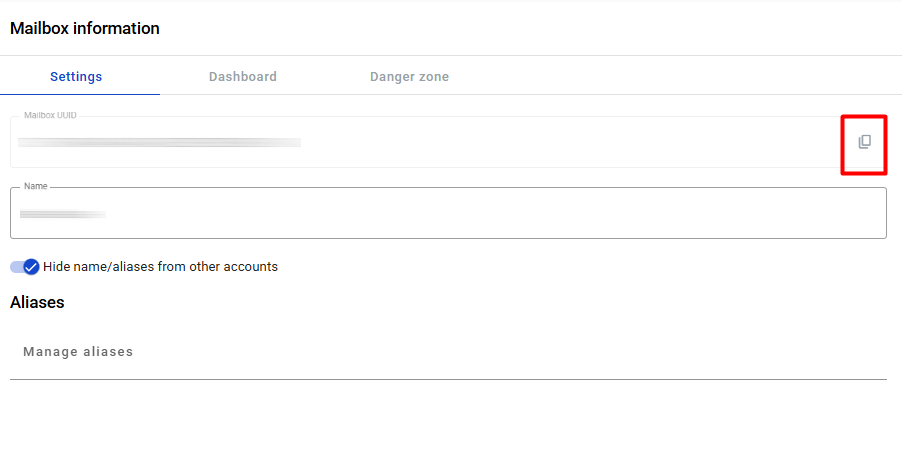
How to copy the mailbox UUID
To copy the mailbox UUID, click on the copy icon. After successful copying, the notification message will be shown at the right corner of the page.
How to edit the mailbox name
- Name field has length validation: 1 - 255 symbols
- To change the name, just move the cursor over the name, change it, and click the Save changes button
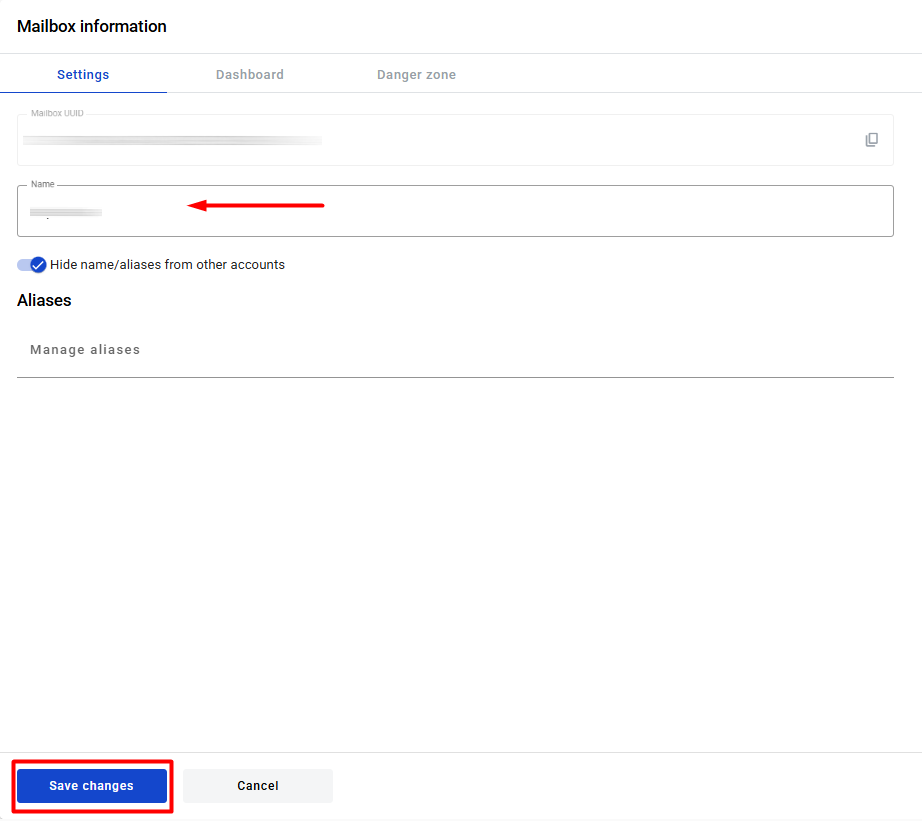
- After the successful edition of the mailbox, the notification message will show in the right corner of the page
How to edit the mailbox name visibility
You can hide the visibility of your mailbox for system members. To do this, activate the toggle Hide name/aliases from other accounts. When the toggle is active mailbox name or alias can be found only by users who have access to this account.

How to manage mailbox aliases
Two identical aliases can not be added to one mailbox.
To add the alias(es) to the mailbox:
- Click the aliases area of the page
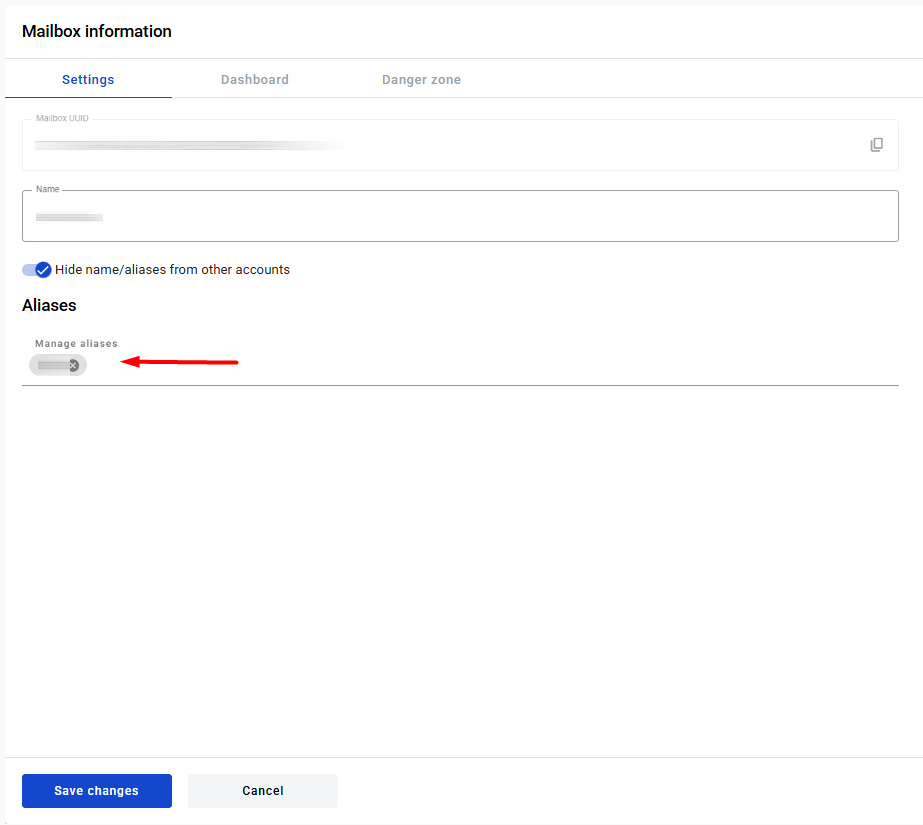
- Enter the alias and press Enter, '.' or ',' button on keyboard to add alias to the list, after that click the Save changes button
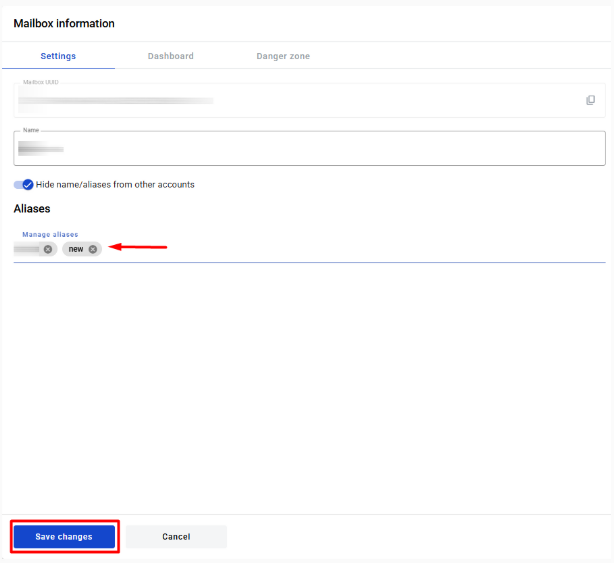
- To remove an alias from the mailbox, click the remove icon of the alias and click the Save changes button
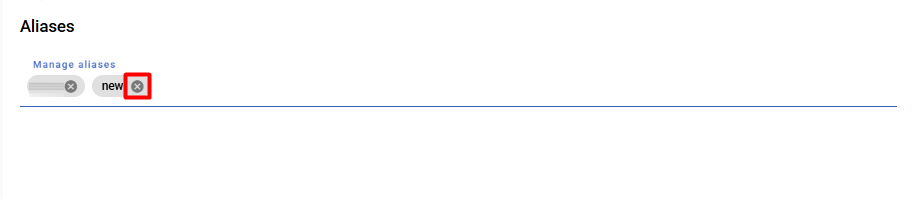
- After a successful edition of the mailbox, the notification message will show in the right corner of the page
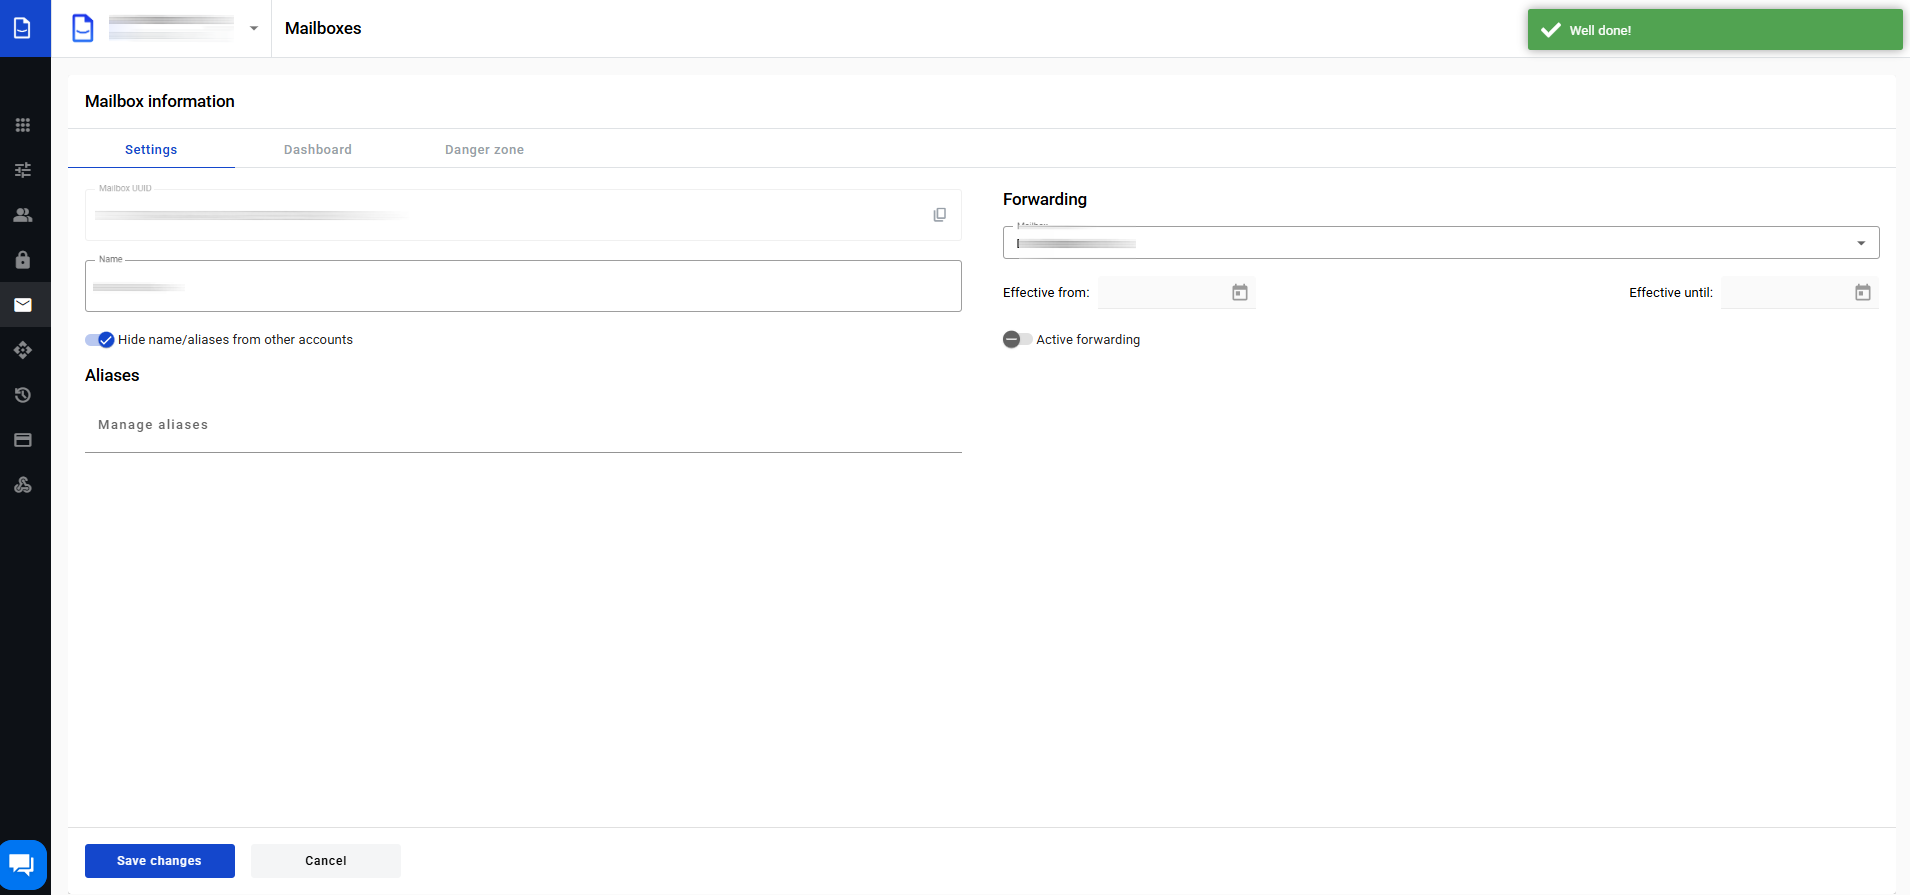
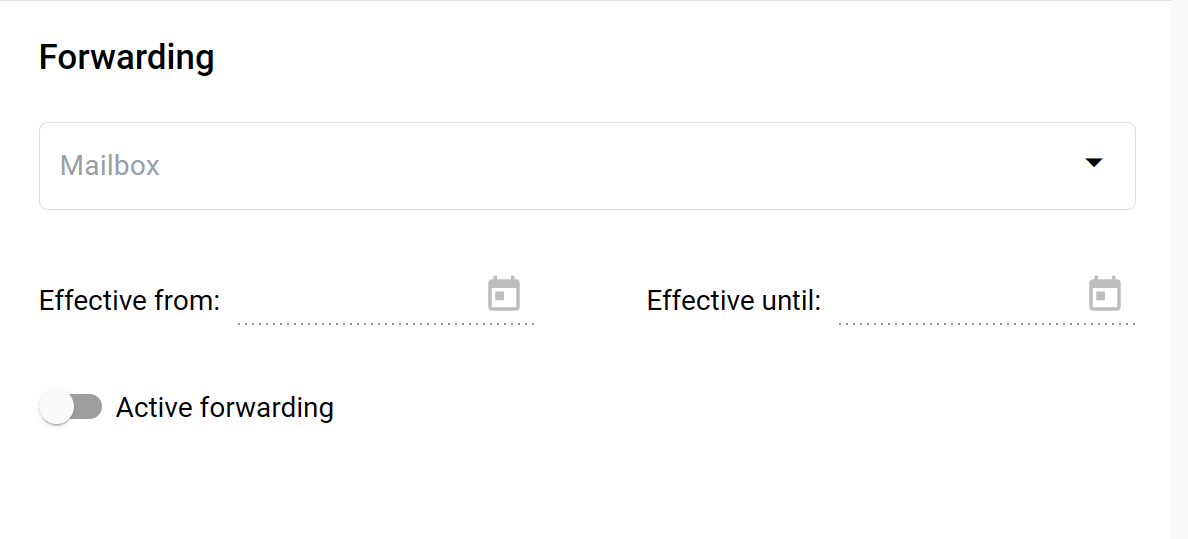
How to configure envelope forwarding
In this section, you can configure automatic forwarding of all incoming envelopes.
-
Select a target mailbox that will be a delegate of yours
-
Select effective from date - it will specify a start date of the forwarding period (can be left empty to start period immediately)
-
Select effective until date - it will specify an end date of the forwarding period (can be left empty to make period indefinite)
-
Enable the Active forwarding toggle
-
Click the Save changes button
Forwarding is configured now. If you wish to disable it at some point later, you can disable the Active forwarding toggle and click the Save changes button.