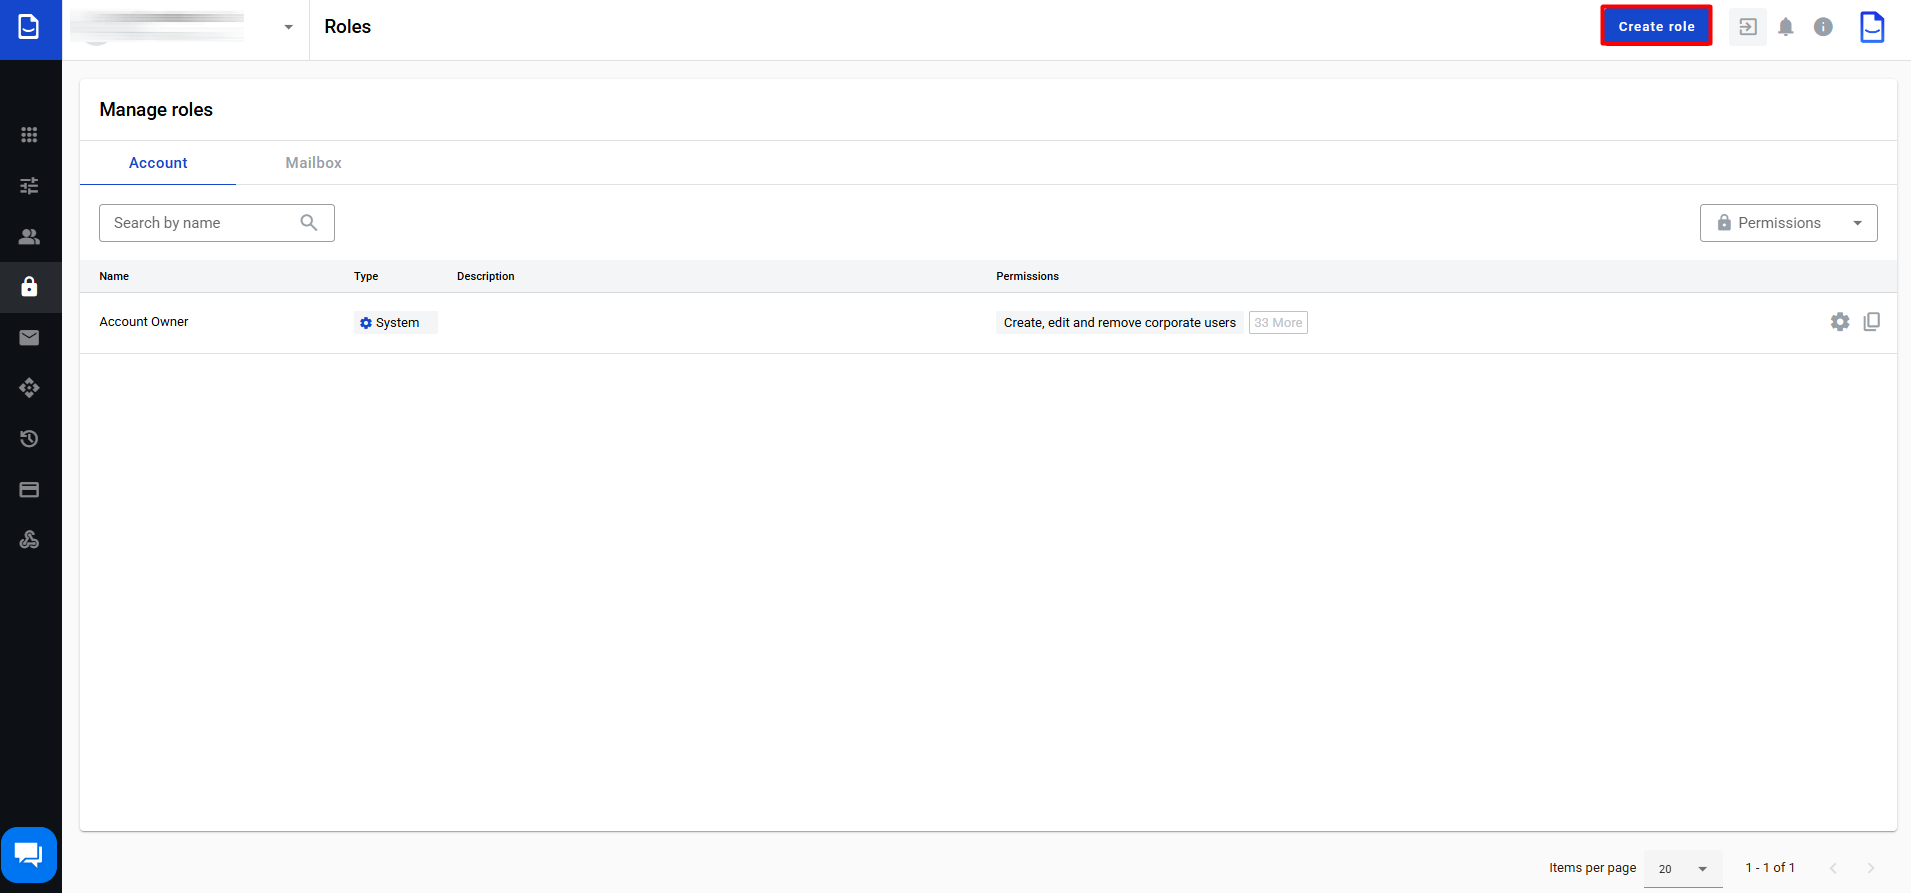
To create a new role, click on the Create role button:
After that, the window for creating a new role will open (to return to the list of roles, you can use the Back to Roles button:
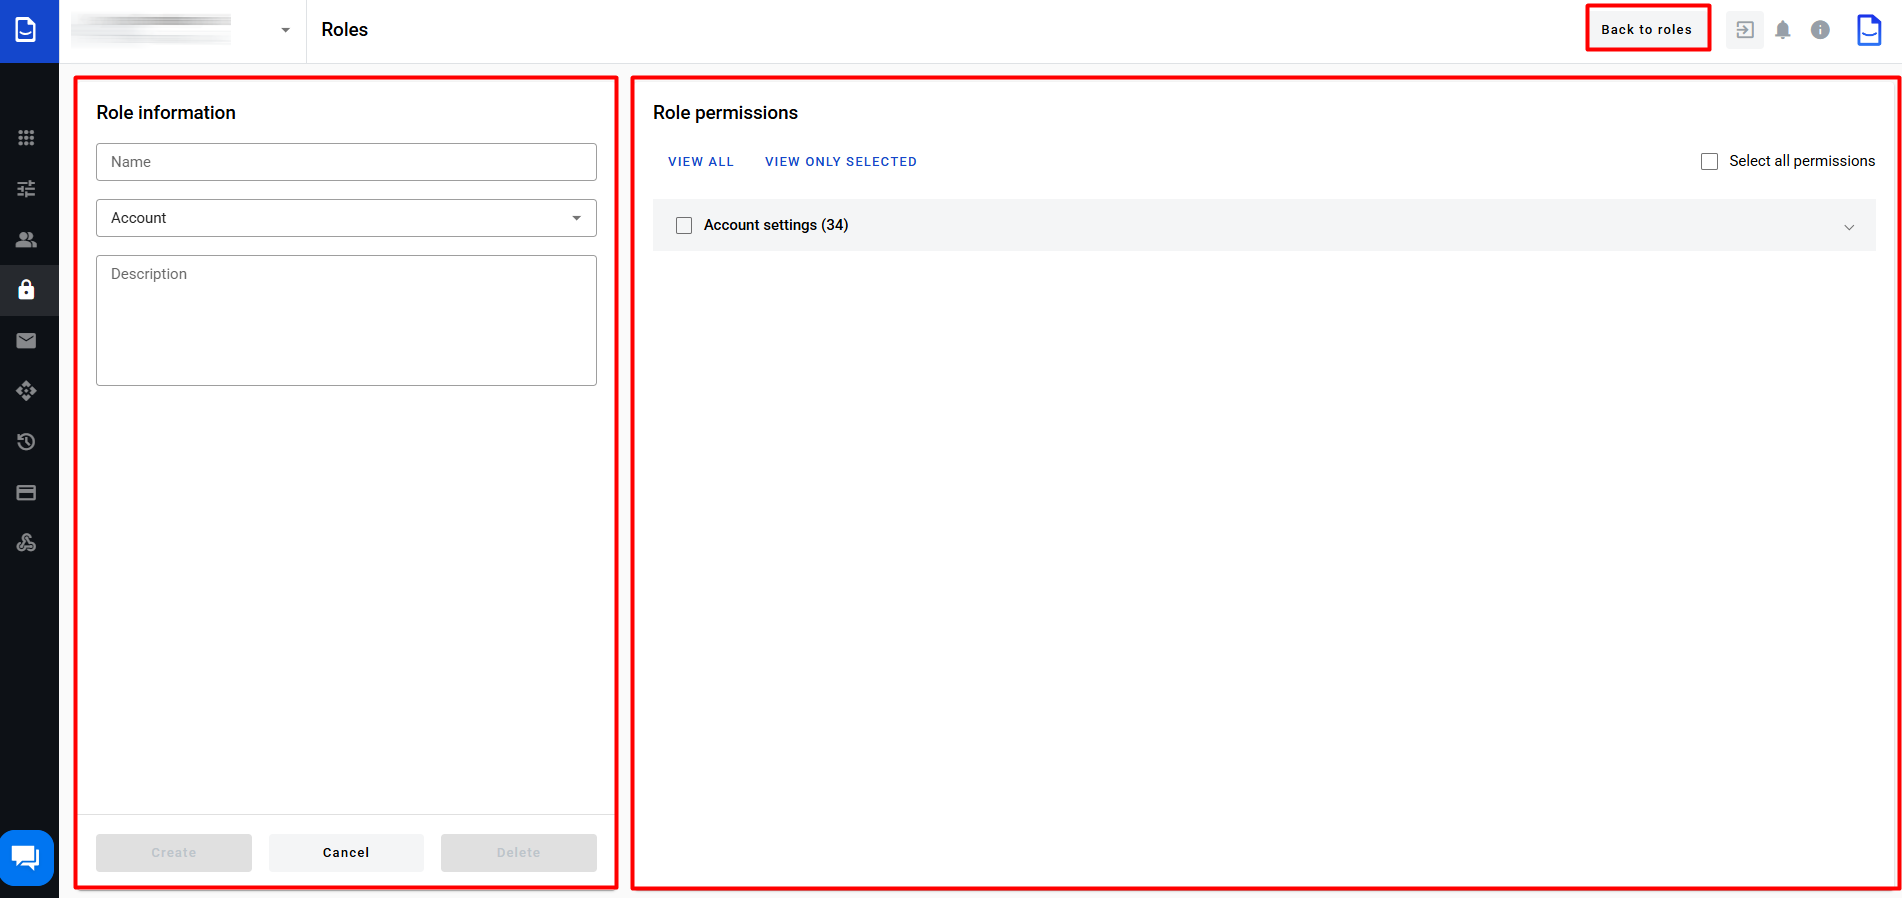
In the Role information block, you need to specify the Name, Description, if necessary, and select the level at which the role will be created (selecting the role level affects the list of permissions in the Role permissions block, which will include the future role):
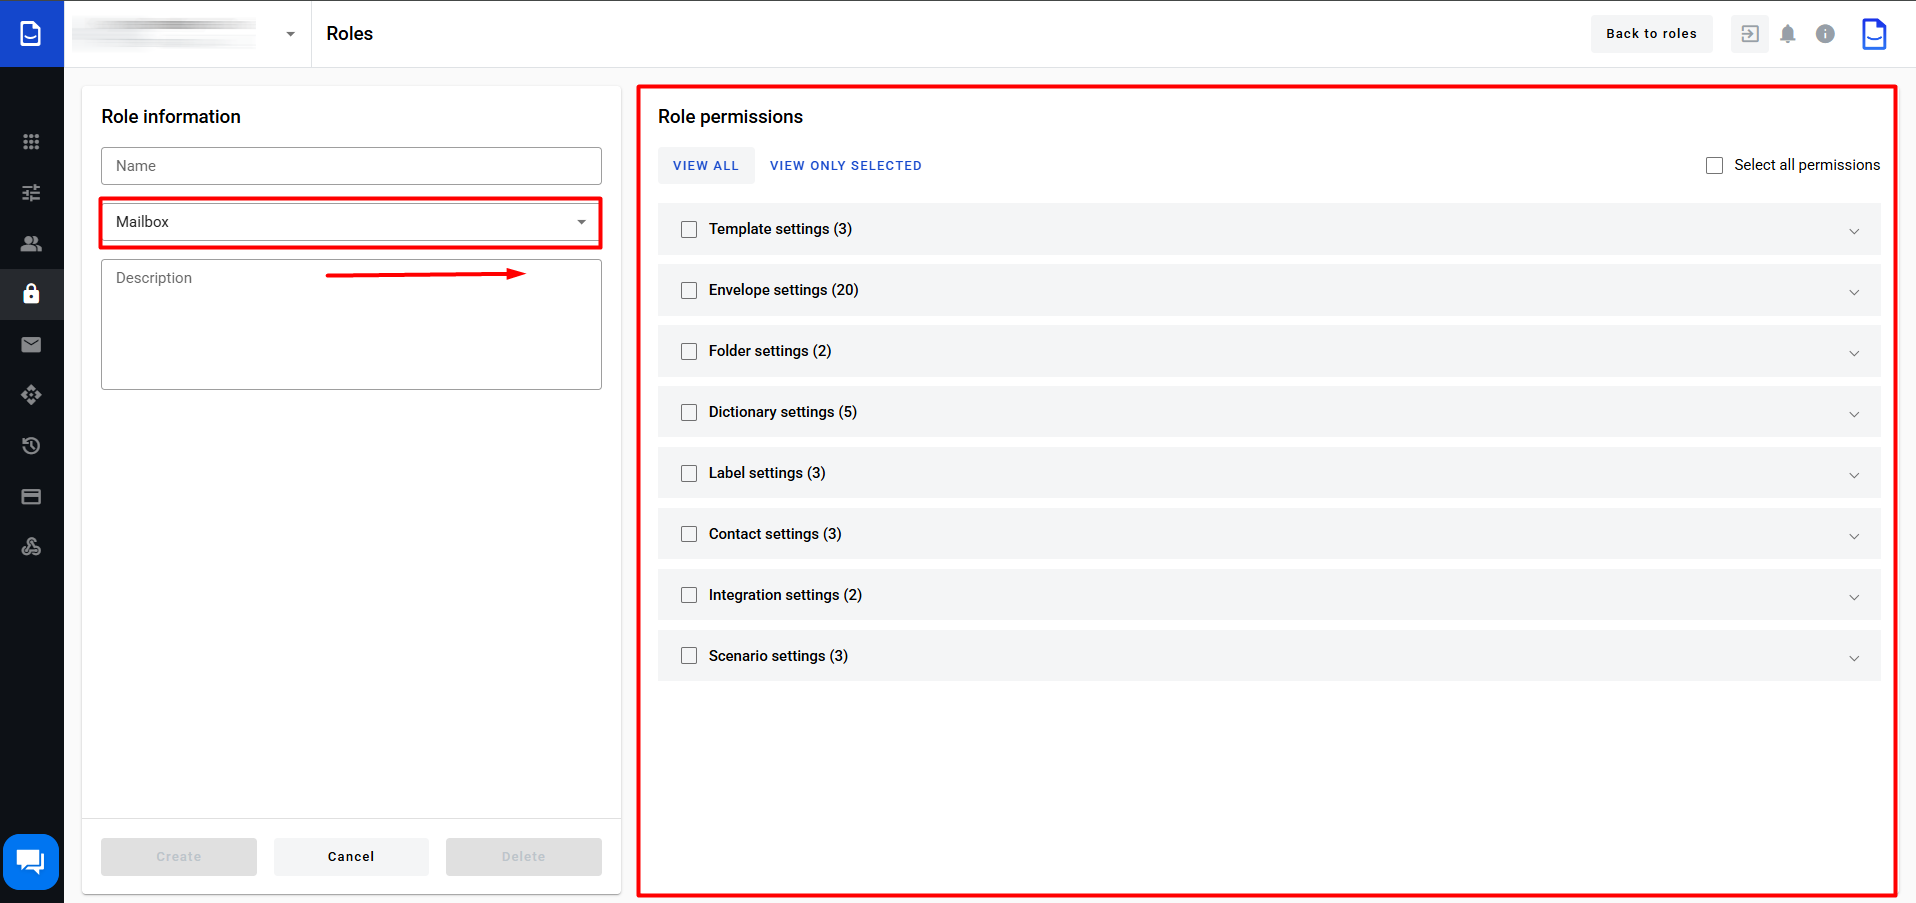
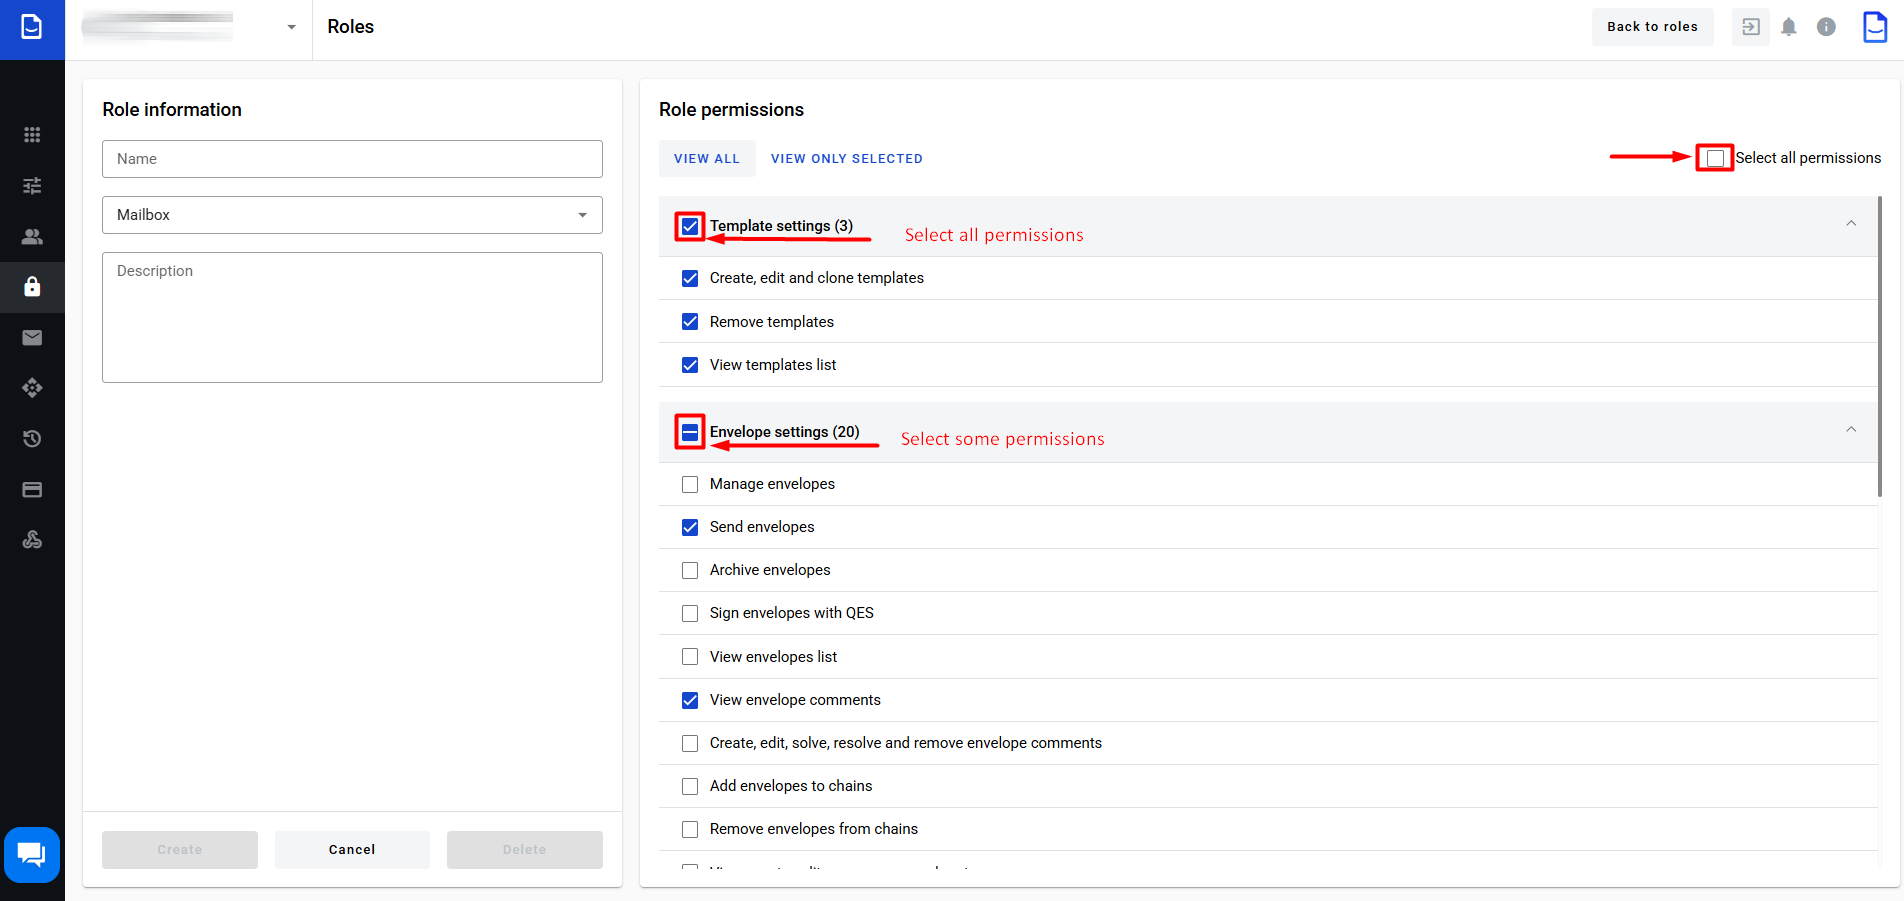
In the Role permissions block, you need to select the permissions that the future role will include (all permissions are described in detail in the following subsections by the links: Account permissions and Mailbox permissions). Permissions are divided into groups, and to open/close the list of permissions in a group, you can use the buttons  /
/  respectively, or open/close all groups using the View all button:

The Select all permissions checkbox allows you to select all permissions in all groups:
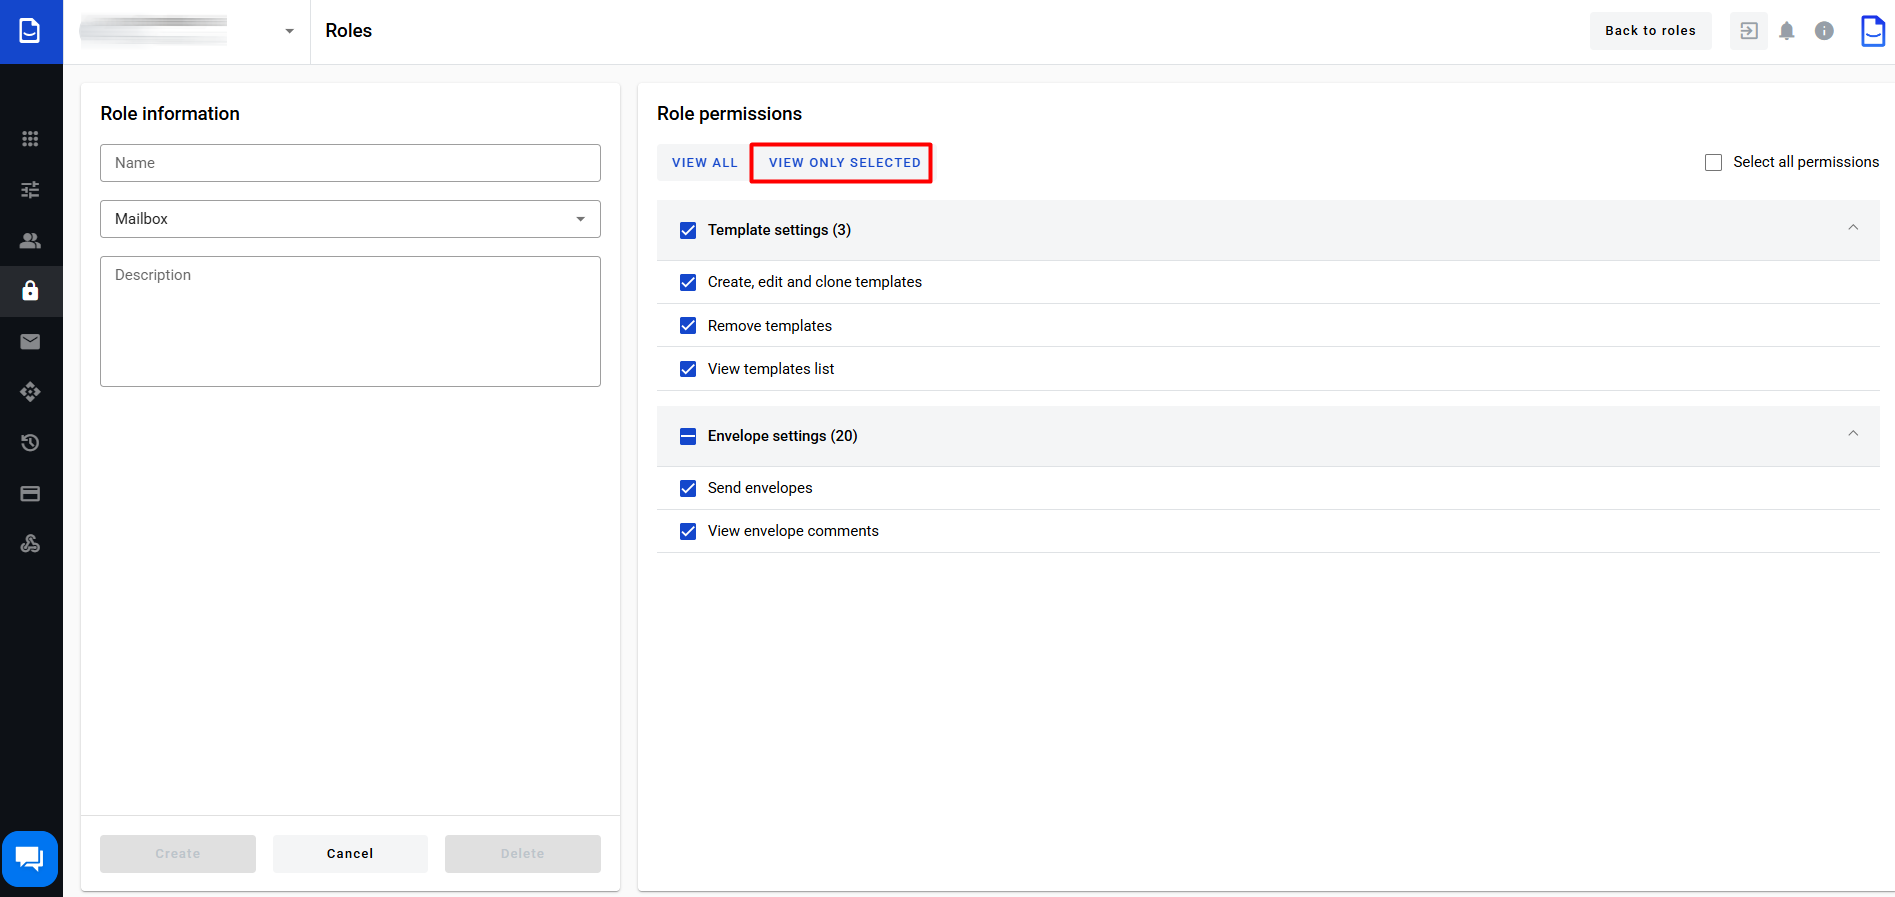
Using the View only selected button, the list will be filtered only by the selected permissions:
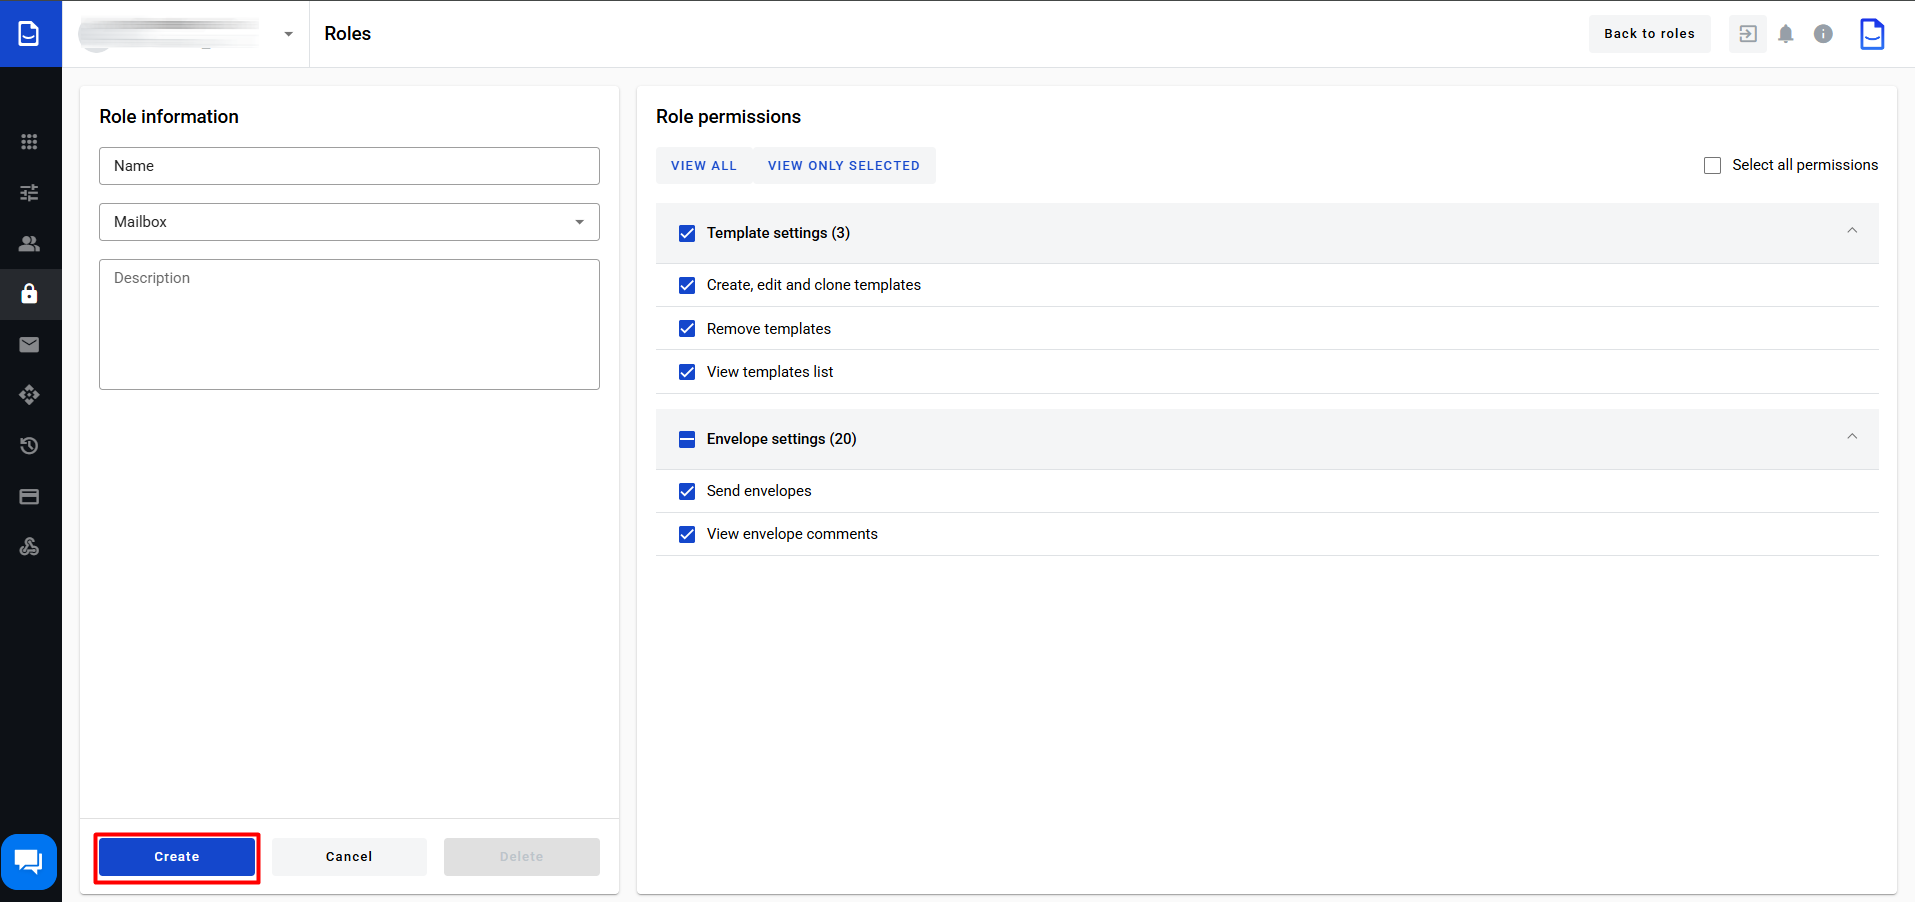
After all the necessary permissions are selected, you need to Create the role:
A successfully created role is displayed in the Roles log in the corresponding tab. The Permissions column displays one permission and the More N button, which opens a list with N more permissions available for this role:
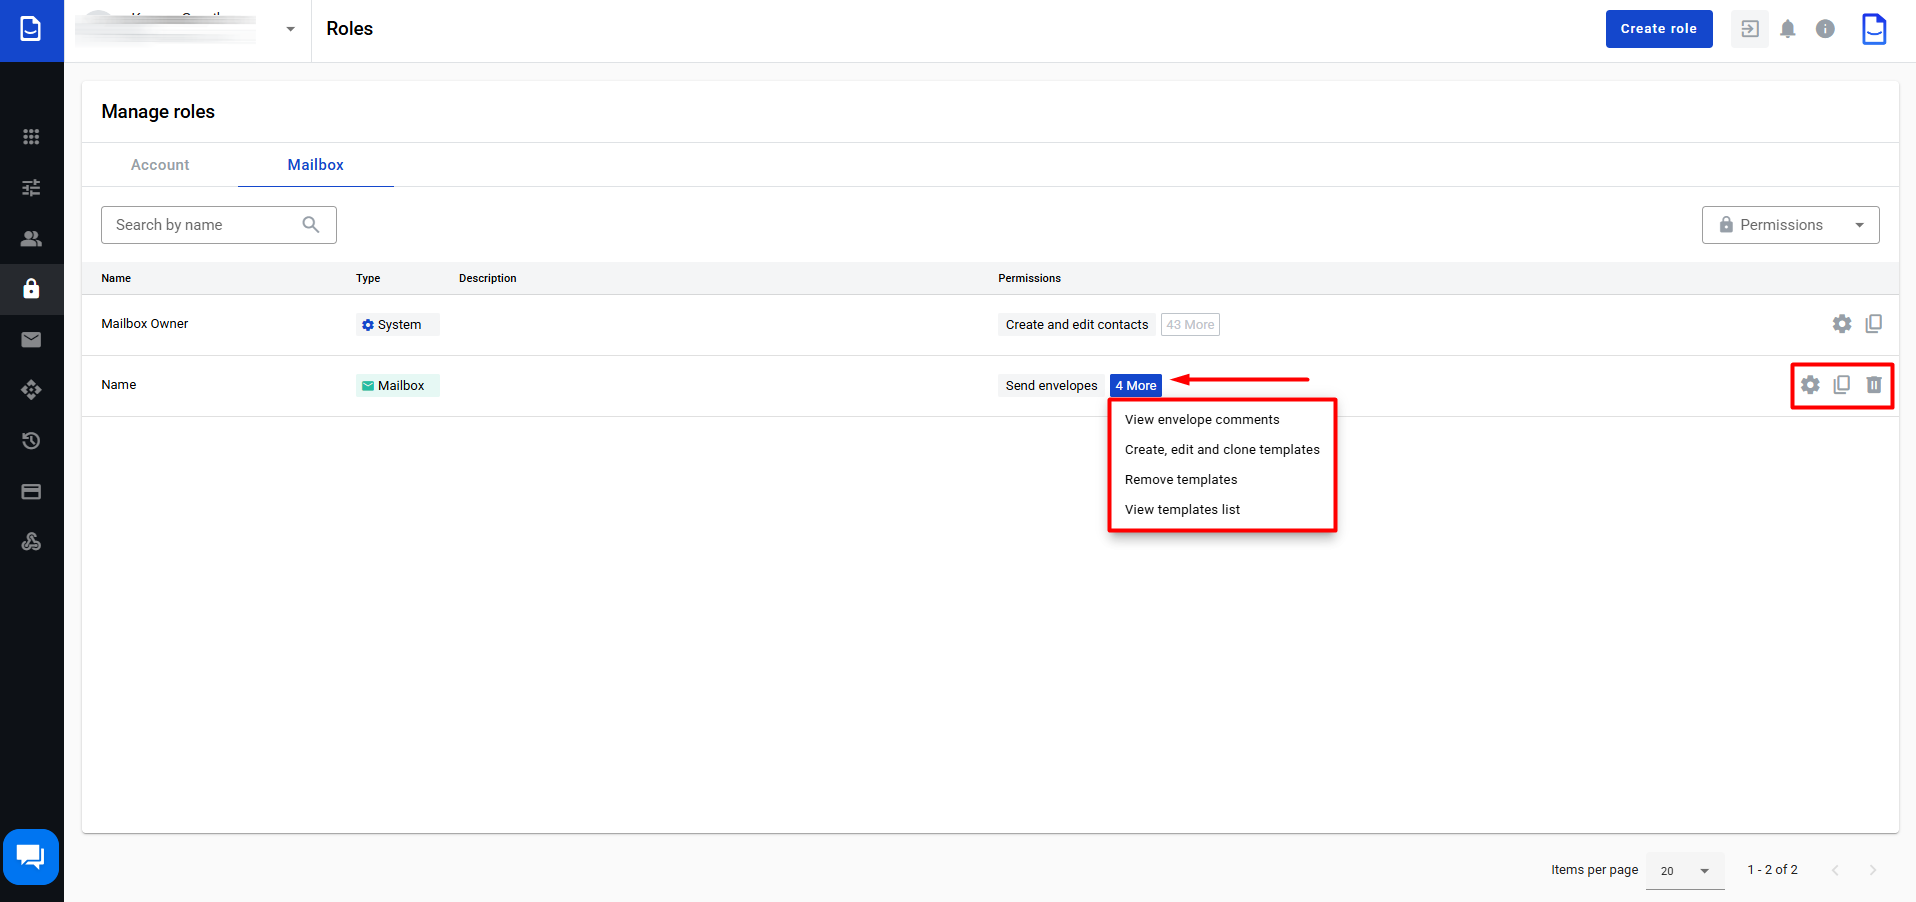
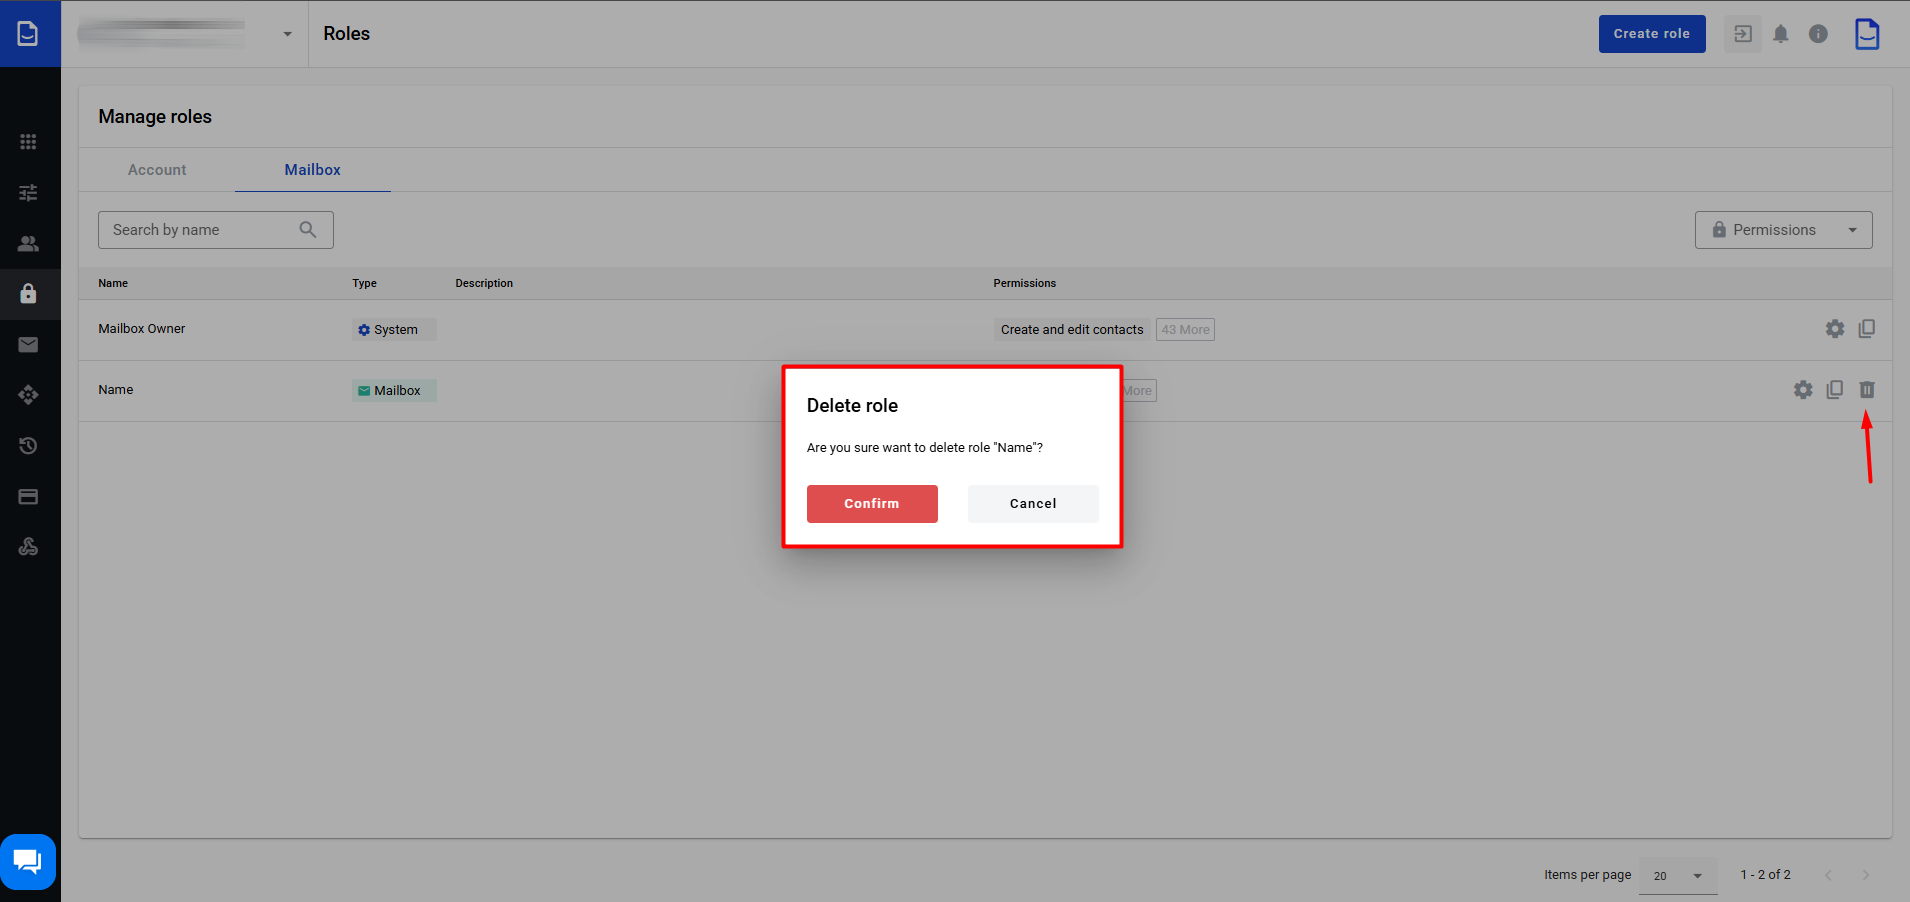
All created roles can be edited, copied, and deleted (the deletion action requires confirmation):