
- The first sheet is Roles. This sheet shows all the roles available for a particular account. If you want to clarify what exactly a particular role does, you can get this information using the user interface or API. You can also use the information about roles on the Account and Mailbox pages if you wish (we'll describe this below)
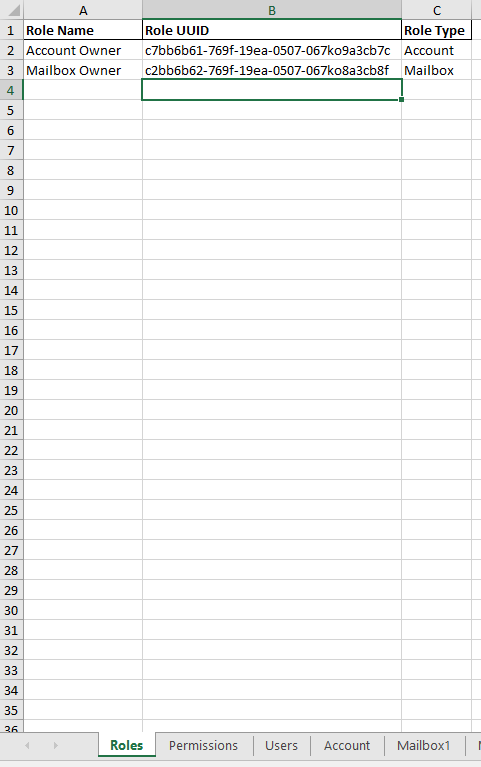
- The second sheet is Permissions. This page displays the permissions that can be used for the account and the list of mailboxes.

- The third sheet is Users. Here we have to fill in the user's data (first name, last name, and email). Also, here you can choose whether or not to create a personal mailbox for the user (fill in Y or N (or leave it blank) to create or not to create). According to this data, users will be created.
All users in the list must be associated with verified domains. Therefore, if you decide to add a user to the list from unverified or inactive domains, the entire user creation process will be stopped.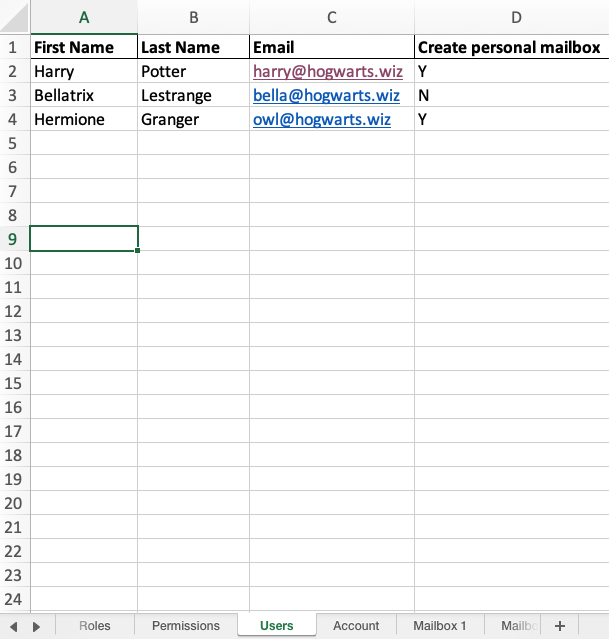
- The fourth sheet is Account. This page is used to set access levels to the account for specific users from the user list. You can set access to your account using roles or permissions.
If you add an incorrect email address to the table, it will not be added to the platform.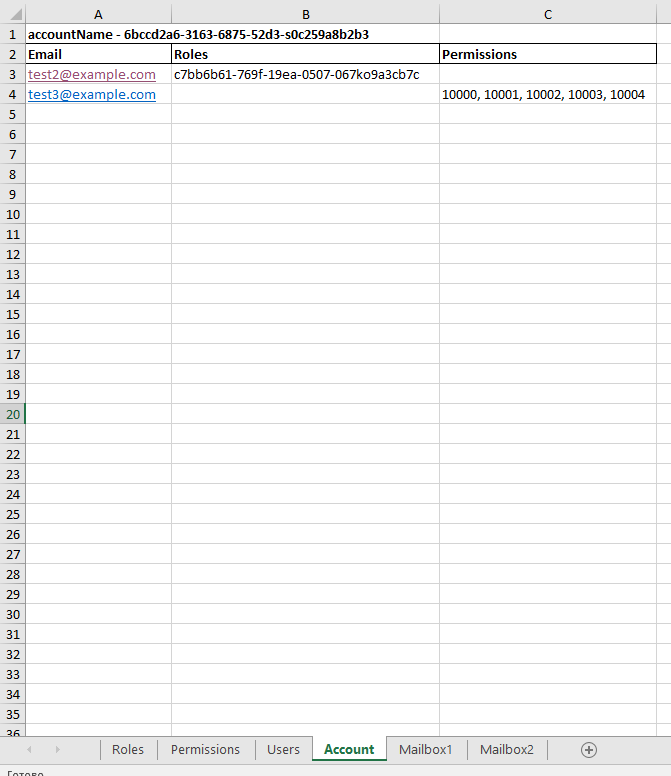
- The fifth and next sheets are Mailboxes. At the top of each sheet is the mailbox ID. You can configure access to the mailbox using roles or permissions.
If you add an incorrect email address to the table, it will not be added to the platform.
Once you fill in the file with the required data, you can upload the file and create users. All users will receive emails and should follow the instructions described in How to get authorized as a corporate user?