The following article provides instructions, along with illustrations and a short video, demonstrating the process
The exchange of specifications with the Epicenter network takes place exclusively through the 'Scenarios' functionality.
Locate the 'Scenarios' section on the left side of the navigation bar and click on it:

Select the 'Official Scenarios' item:

On the current page, choose the 'Epicenter Specification' and click on it:

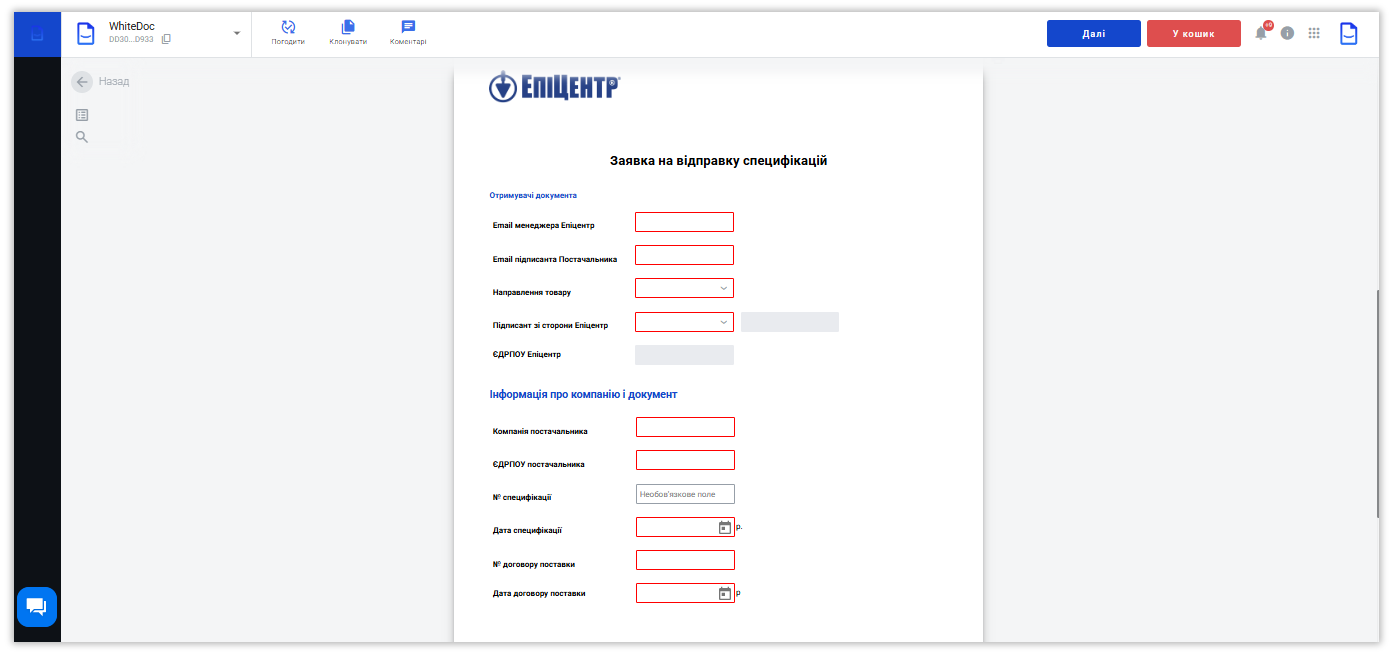
Fill in all required fields in the document, which are highlighted in red:
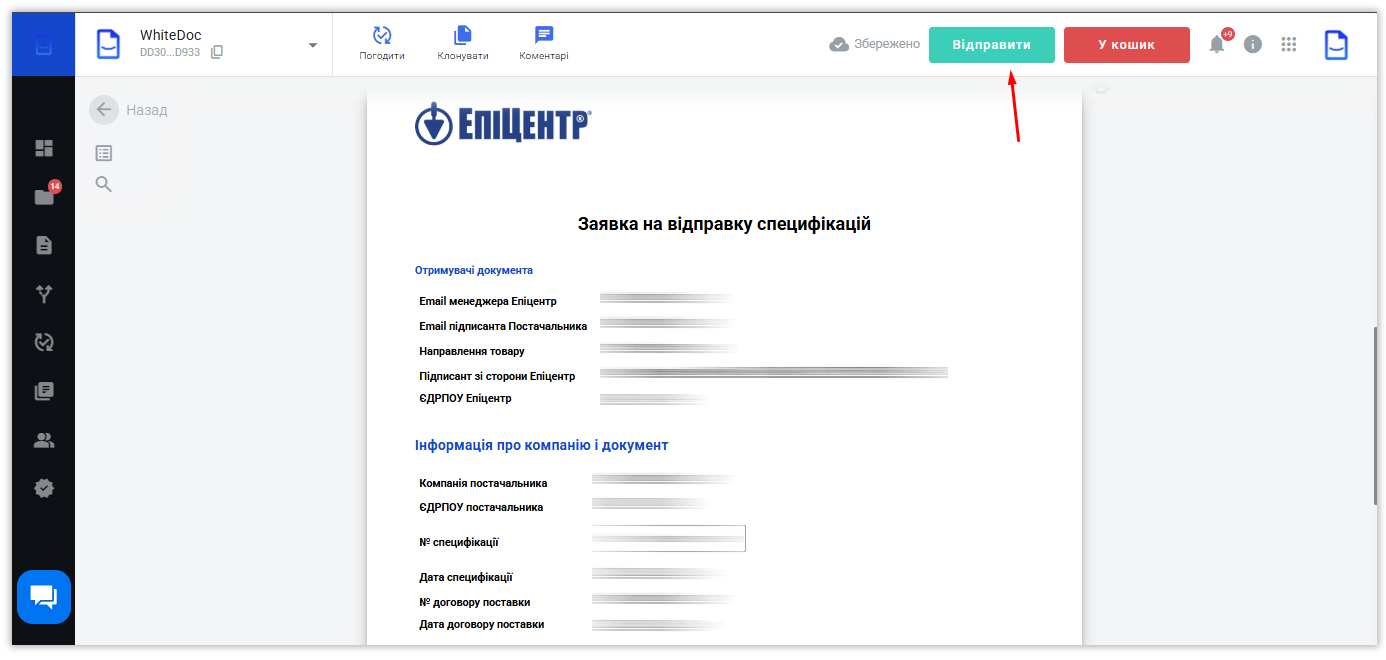
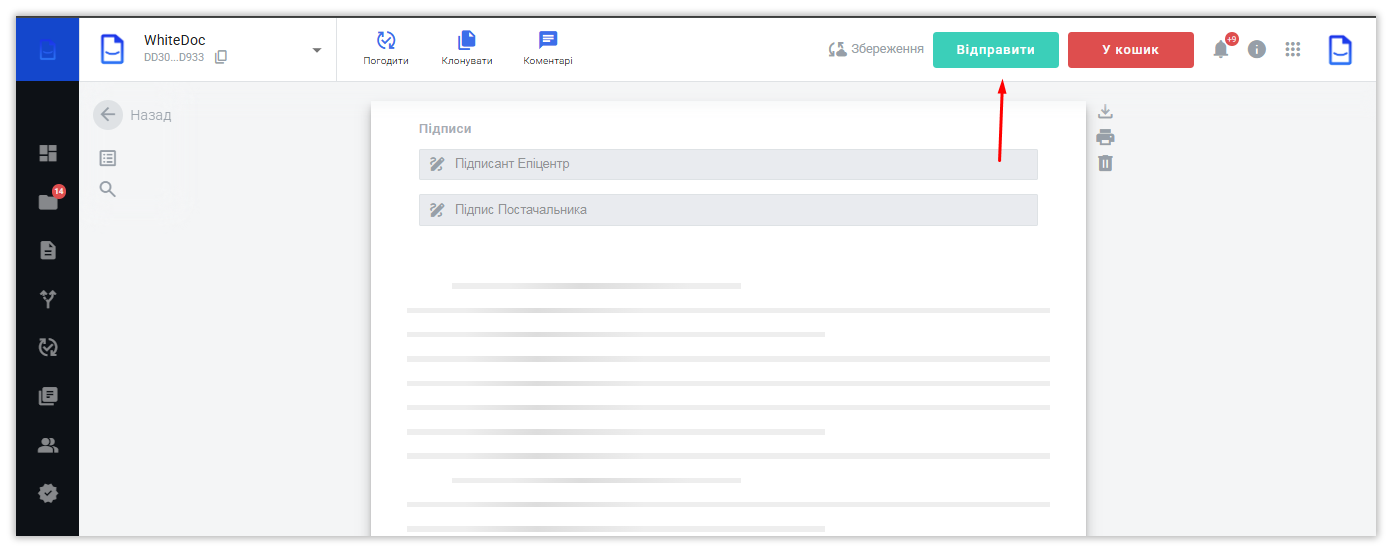
After completing all fields, click the 'Send' button located at the upper side:
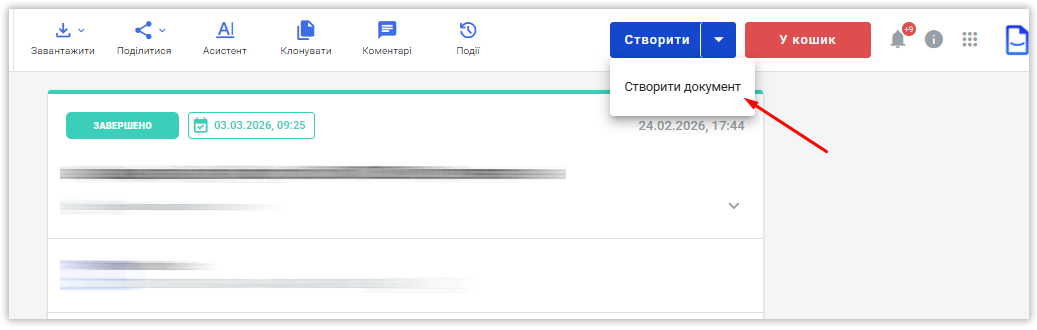
The 'Create Document' button will then appear, so click it:
In the next document, you will find a section to upload an external file — your specification:
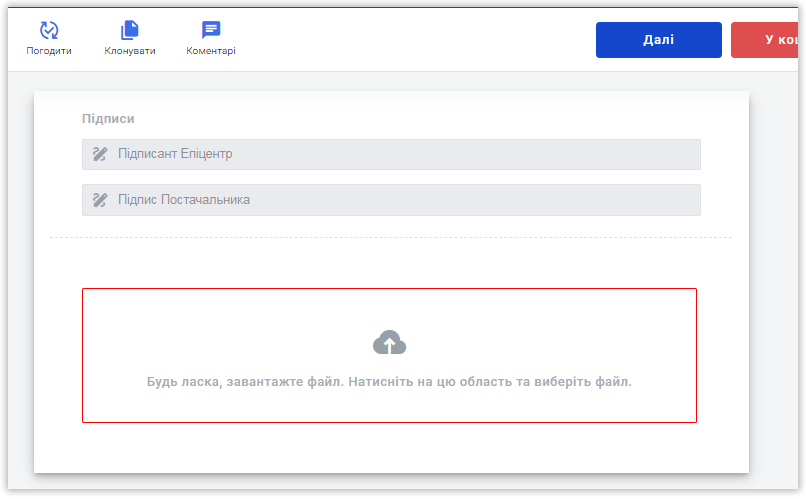
After uploading the file, be sure to click the 'Send' button again at the bottom right:
At this stage, your document will be successfully sent for processing as per the established procedure.
Once the document is submitted successfully, two envelopes will be generated in the mailbox within the 'Outgoing' folder:
- Application for sending the Epicenter specification
- Signing of the specification
You can also find the submitted request listed under 'Completed' status on your User Dashboard.
For your convenience, you can fill out a request only once and then use it to create other specifications by modifying the document details. Simply locate the requisition and click the 'Create Document' button.
To send a new specification, do not clone the 'Signing of Specification' envelope. A new specification is created only by launching the 'Application for Sending a Specification to Epicenter envelope through the 'Create Document' button
Now you have a clearer understanding 😉
WhiteDoc