A template is an element that can contain one or more documents and is used to create envelopes.
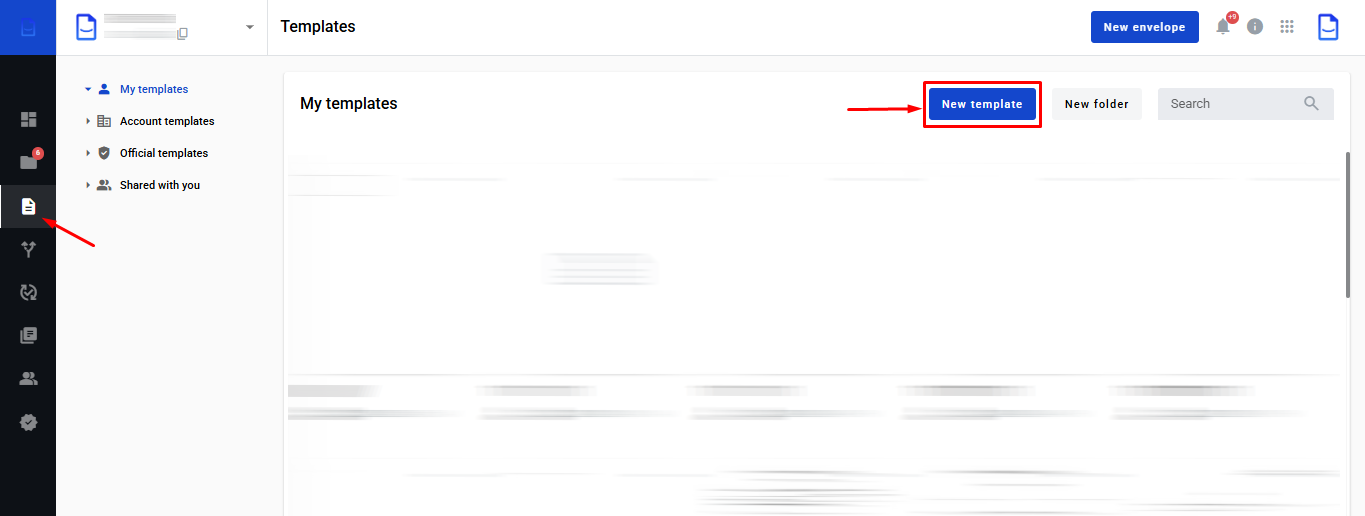
To create a new template, open the 'Templates' tab located in the sidebar on the left and click the 'New Template' button at the top of the page.
.png)
The template editor will open, allowing you to create, customise, and send the template according to the established processing order.
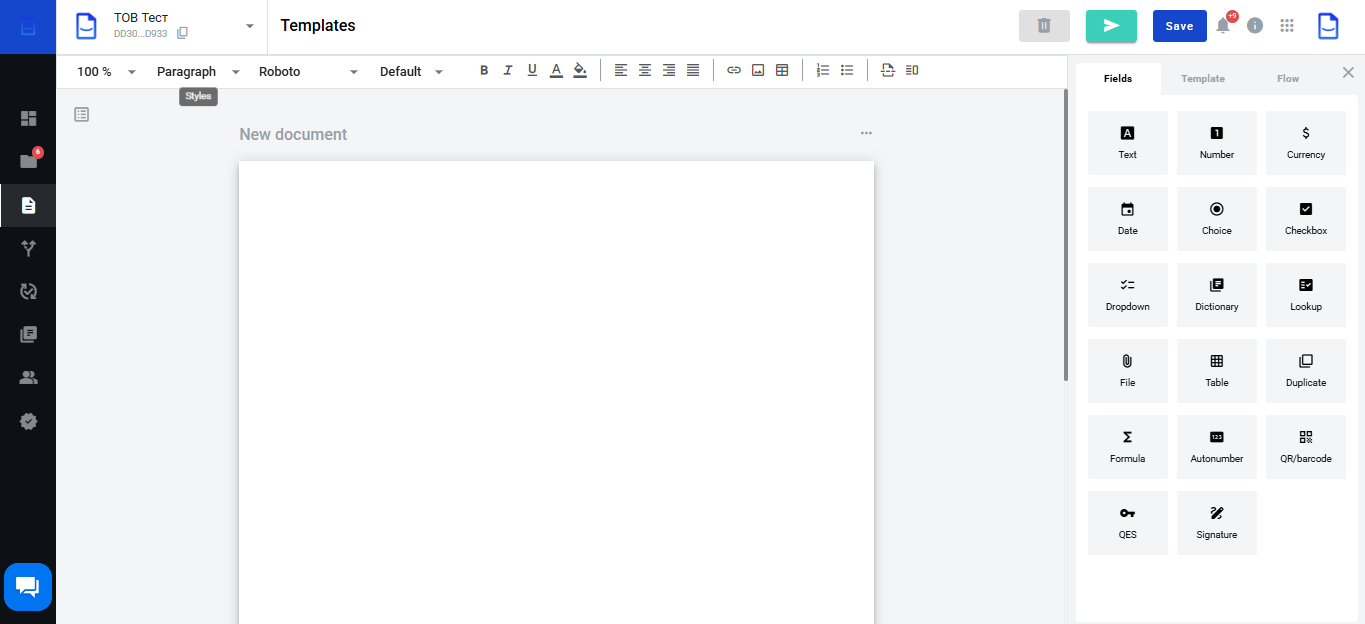
By default, the template has a structured format.
A structured document can include text and standard WhiteDoc fields.
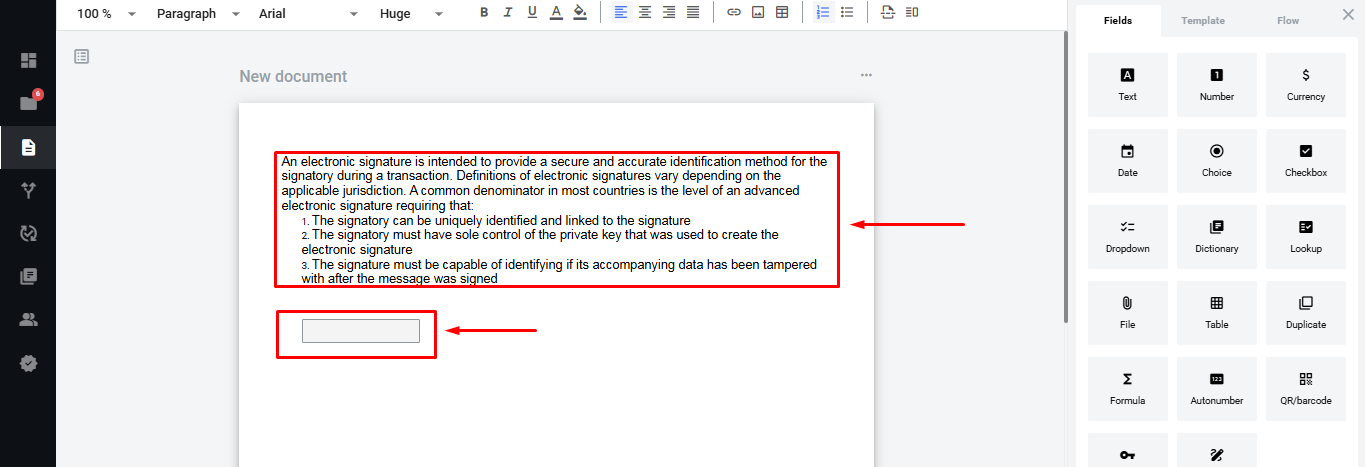
Working with the content of a structured document involves:
-
working with text (filled in by copying from the required source or simply by typing) / tables / images using the visual editor panel - an unchangeable part
-
adding fields that must or can be filled in by participants in the document flow
.png)
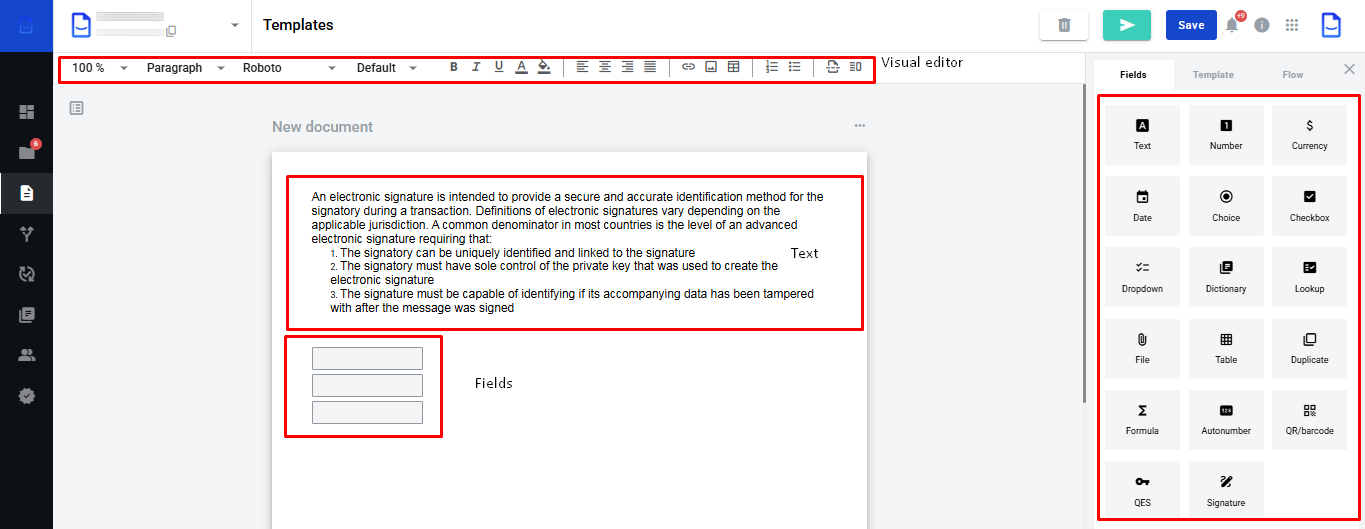
The visual editor allows convenient document formatting. You can add paragraphs, change fonts, format text, and add images, tables, and links.
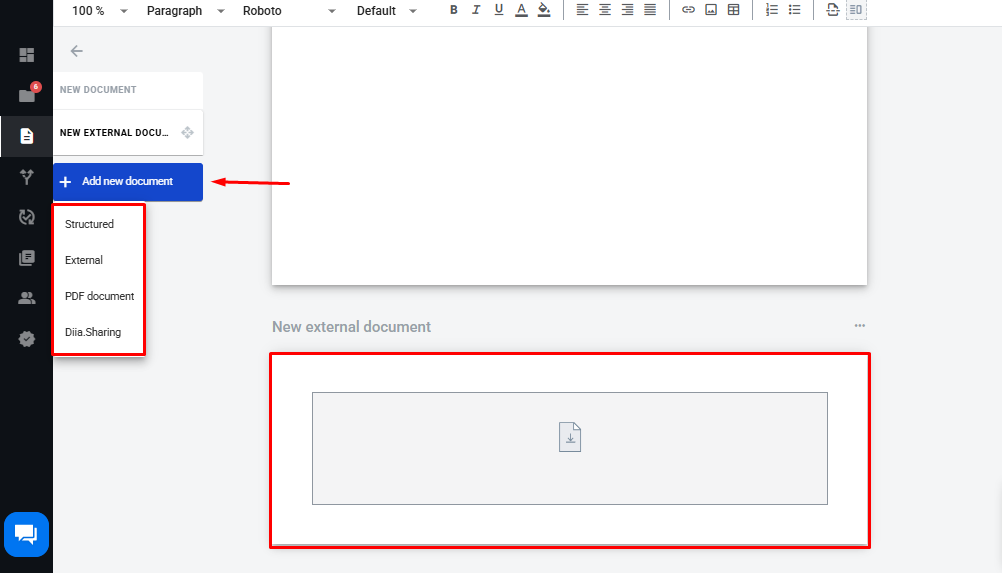
Additionally, you can include external documents or PDFs in your template. To do this, click on the 'New Document' button and choose the appropriate document format.
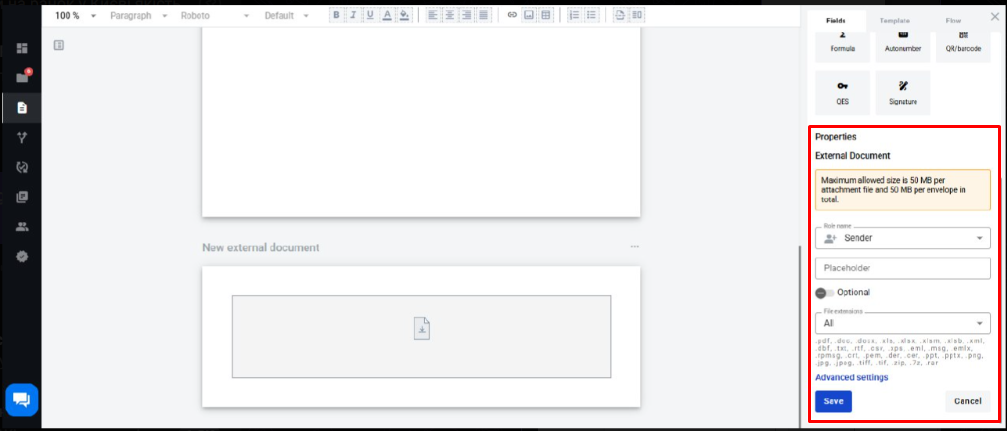
Clicking on the field of the added external or PDF document will display its properties in the sidebar on the right.
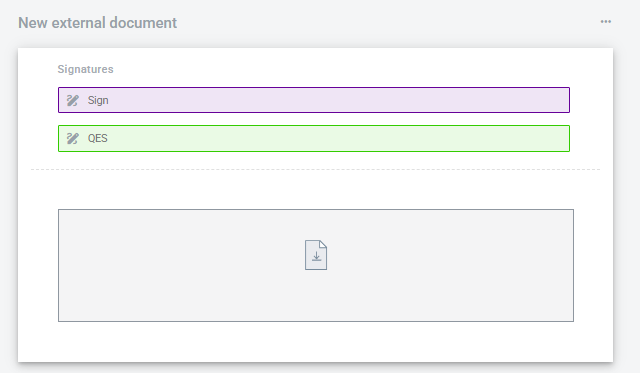
You can only add fields such as Signature and EDS to an external document that already contains an area for adding a file.
The ‘Fields’ Tab
ДTo fill in a structured document, use the 'Fields tab'
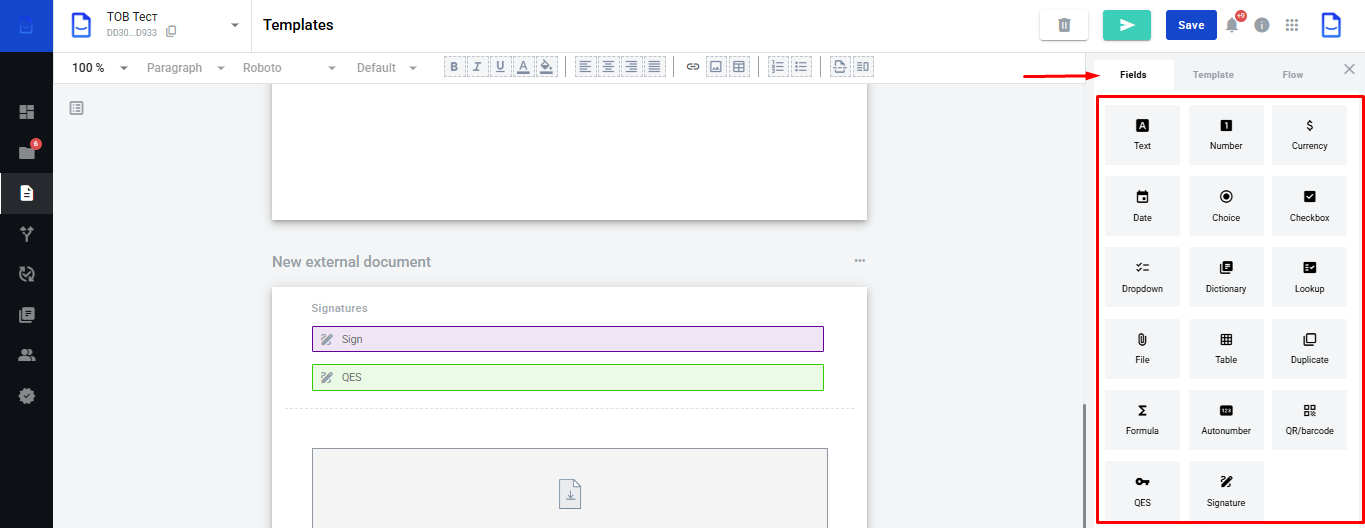
You can find a description of each field in the 'Dynamic Fields' section of the Wiki, including:
The template settings are available immediately after its creation and can be found in the Template and Processing tabs.

Template Tab
After creating a template or after filling in/adding new documents, go to the ‘Template’ tab, which contains the main details and settings:
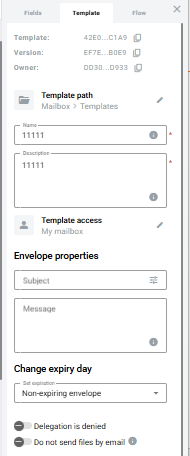
Required fields are marked with a red asterisk (*), indicating that the template's ‘Name’ and ‘Description’ are mandatory. By default, the template will be created in the 'My Templates' folder, with access limited to the email box level. You can use the pencil icon to change the location of the template and its access level.
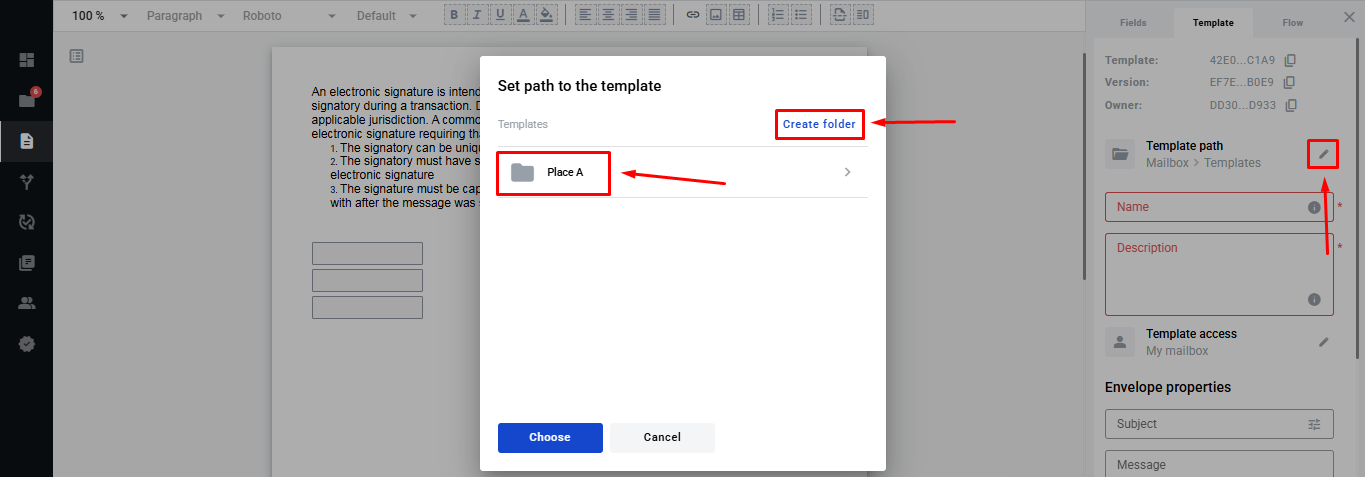
Set the Template Location
In the pop-up window, you can create and select a folder to store the template:
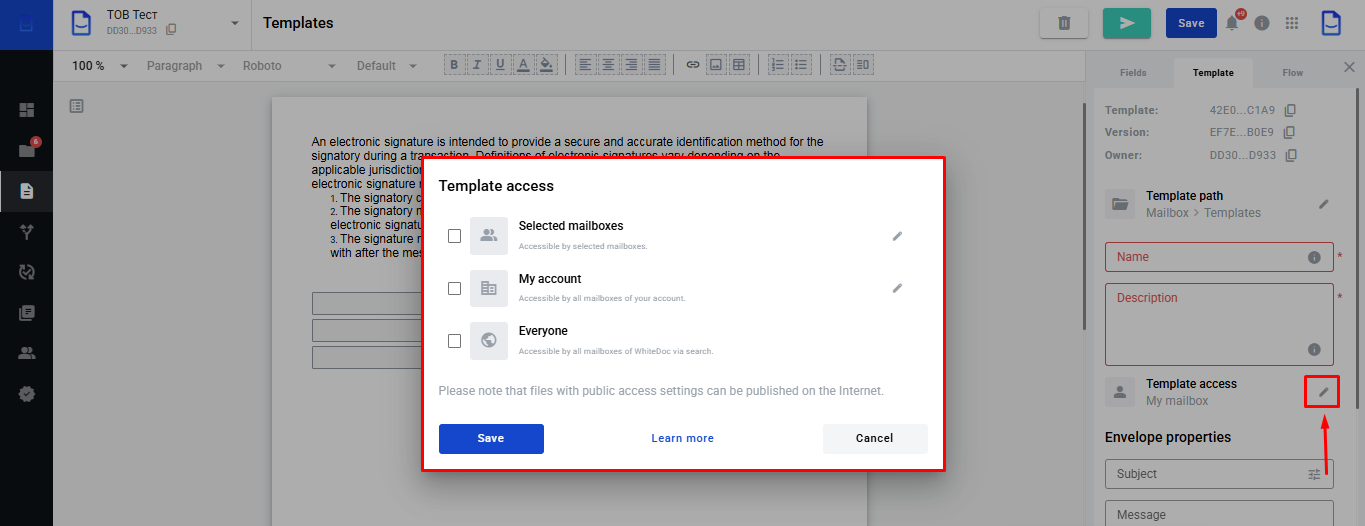
Set the Template Access Level
To modify the access level for a template, click:
Once added to the Favourites list, this template will appear in 'Templates - Shared with You'.
You can also extend access to the entire account or public access.
Selecting Public access allows all users of the WhiteDoc service to access the template. Access at the Account level applies to all mailboxes in that account.
In the Envelope Properties block, you can specify the Subject and Message for the envelope containing documents. By default, all envelopes will feature the specified subject and message
You can also set the envelope's validity period (the default is unlimited):
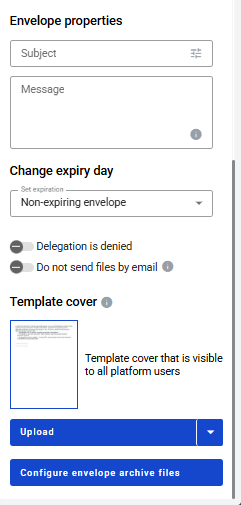
Optional Settings:
-
‘Do not allow delegation’ - when the “Delegation” functionality is enabled.
-
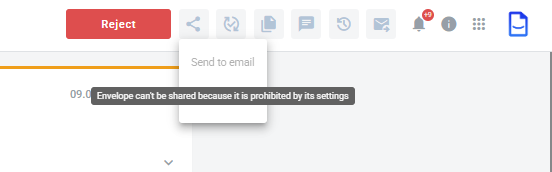
‘Do not send files by email’ - if enabled, the “Share envelope” functionality will be unavailable.
Processing Tab
The Processing tab includes all roles of participants involved in the further processing of this envelope.
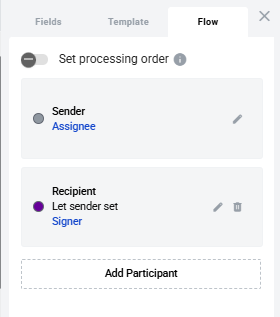
The service offers various types of roles for participants in the workflow that define their capabilities and functions:
-
Sender: Initiates the workflow, creates an envelope using the template, fills in the recipients/fields, and sends it.
-
Fills in: Completes the specified fields of the document(s) in the envelope (can fill in all types except for EDS).
-
Signs: Signs the documents in the envelope (specified only when adding EDS and Signature fields).
-
Approves: A participant who can approve or reject the envelope, leading to the ‘Cancelled’ status if rejected.
-
Receives a copy: The recipient who receives a copy of the documents in the envelope (does not affect the workflow).
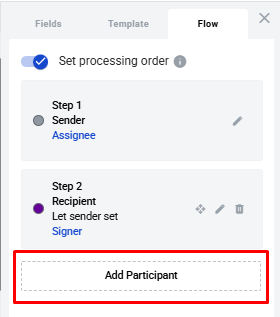
You can add a new role using the ‘Add participant’ button in the ‘Processing’ tab or when editing or adding ‘Fields’ by clicking the ‘Create new role’ button.
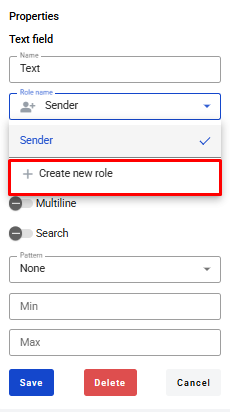
When adding a new role, you may leave the Mailbox field blank. In this case, the Sender will need to enter this information each time they create an envelope using this template or assign the recipient by specifying the Mailbox UUID.
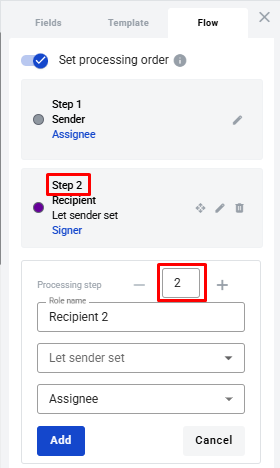
To establish the processing order, select the "Set Processing Order" checkbox. You can also modify the processing steps in the role editing form, allowing you to configure both sequential and parallel processing
Finalising the Template Creation
After adding documents, fields, defining roles, and setting access levels and workflow settings, you have the option to either 'Save' or 'Send' the template.png) When you send an envelope, the system will automatically save the template, as long as all mandatory configuration fields are completed and the document form is filled out.
When you send an envelope, the system will automatically save the template, as long as all mandatory configuration fields are completed and the document form is filled out.